PSA: FYI, we now have video bundles available for all levels. Don't forget that you'll get a free gift when you screenshot your review of our app to Lauren. And also, our book, Namaslay, is available for preorder. This post contains affiliate links, which means YBC will earn a small commission when you check them out. Thanks for supporting YBC.
NEW JERSEY YOGIS: I am leading a core strength and stability workshop on August 27!! Come join us!
I've been hard at work prepping for our Italy retreat, so today Lauren's taking over to share a fun DIY project - Balloon Abstract Art. Hope you love! xoCandace
Abstract Balloon Art
Okay guys, I totally get it - creating a masterpiece that isn’t a total disaster can be super intimidating...actually let’s be honest, when it comes to painting, drawing and everything art - the whole darn thing is pretty intimidating. Personally, I feel comfortable with a pencil or paintbrush in my hand, but I think sometimes skills just run in the family (shout out to my gramps who was an artist himself).
Almost everyone I know always says, “I could never do that!” when they look at my artwork but… truth is, you can. The key is to not overthink it and you’re golden!
I'm going to show you a fun and super simple way to create some edgy abstract art that you’ll actually be proud to hang in your living room. Bonus - this will be a fun project for the whole family!
What you’ll need:
- Canvas or Poster Board
- Acrylic Paints
- Balloons
- Balloon Pump
- Tacks
- Sharp Object (like a dart, skewer, sharp scissors or even a knife)
DIY Abstract Balloon Art II Step One, blank canvas
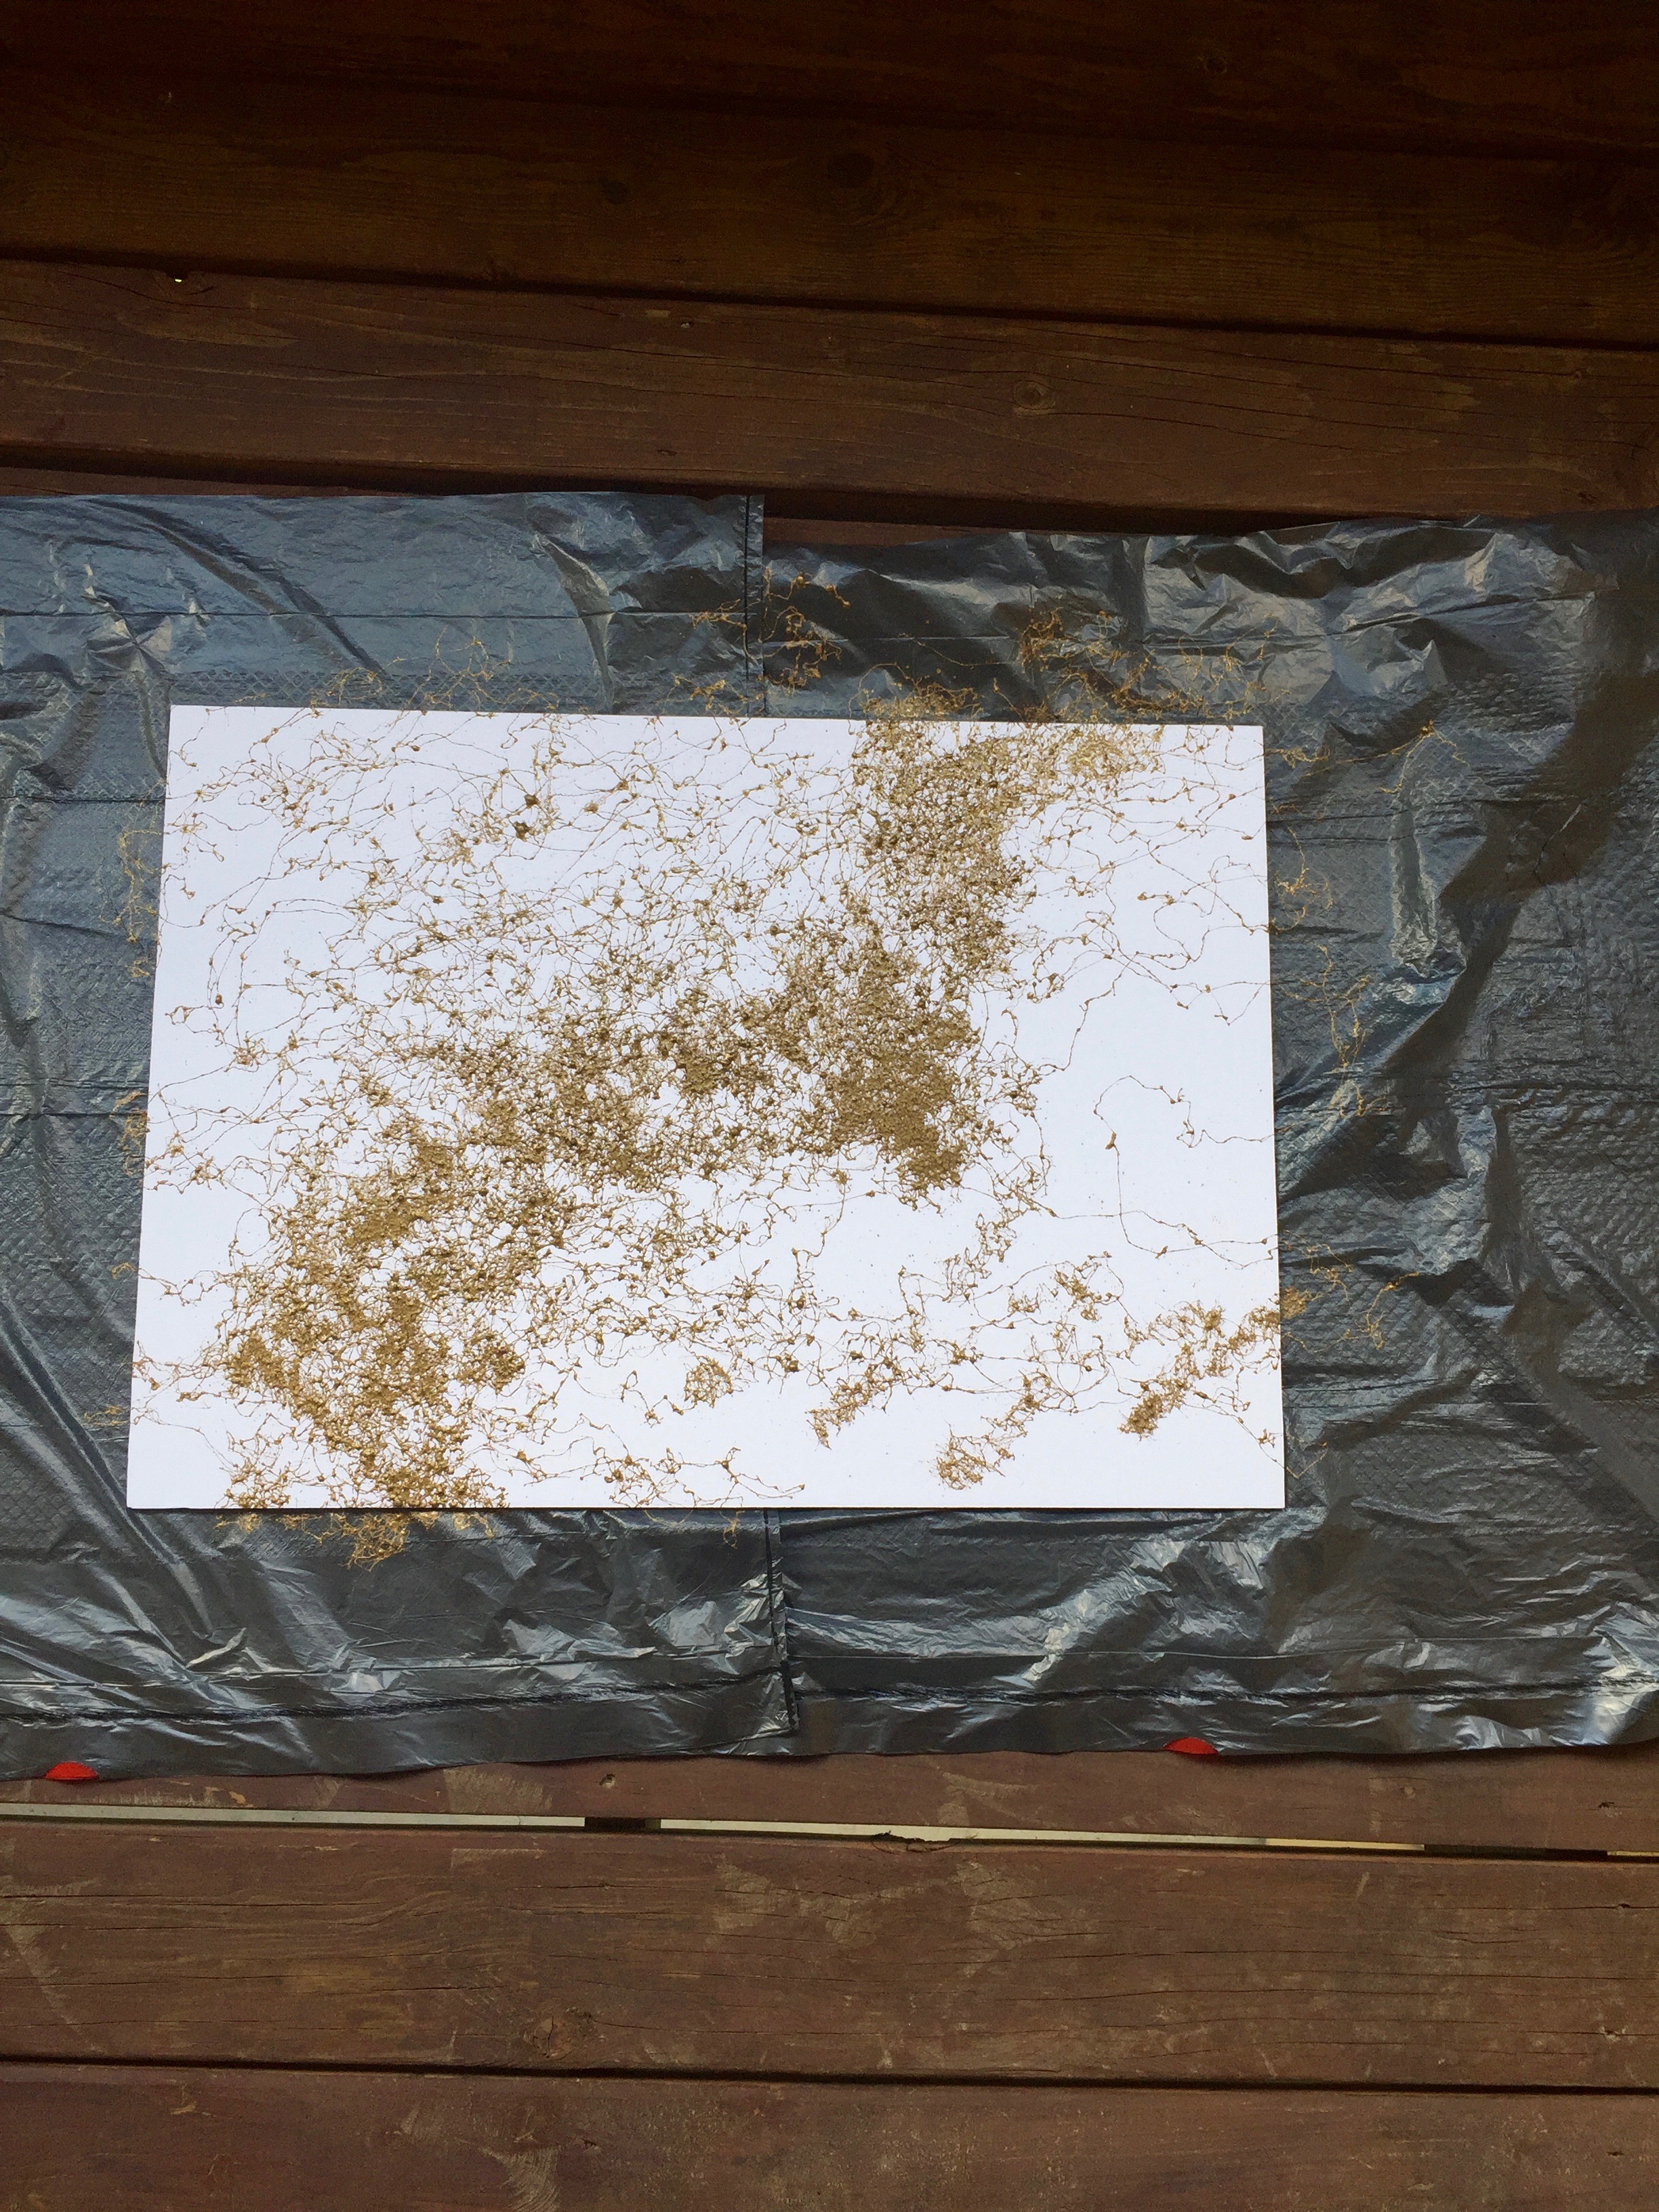
Step Two: Gold Texturizing Spray
Personally, I really love the way texture looks on a painting so when I came across this gold chiffon marbleizing spray, I just had to pick it up. I thought it would look cool in the background and without any specific plan or pattern in mind, I started spraying. I didn’t want to overdo it because the main focus of this piece should be the bright balloon splatter but I added just enough for it to be noticeable and add another dimension.
Next, decide on the color scheme. I went with bright colors for summer: orange, bright pink and yellow.
Take your desired colors and carefully squeeze about 2-3 tablespoons of paint into a deflated balloon. This can be tricky so try your best to get all the paint to settle on the bottom of the balloon. It’s okay if you get a bit on the sides, it should run down to the bottom of the balloon once it’s blown up.
DIY Abstract Balloon Art II Step Three, fill up balloons with paint
Once the paint is in the balloon, you’re going to need to blow it up. I used a balloon pump because I knew it was going to get pretty messy with the paint. Obviously a balloon pump isn’t necessary but it was nice avoiding any possibility of getting paint in/around my face and mouth. Keep in mind that you don’t want to blow up your balloons all the way; if you do this, you won’t have much room on your canvas for multiple balloons. I blew mine up to be about 6”-7" in diameter (about half the capacity of the balloon). Tie it off and place it to the side until all of your balloons are filled.
Prop your canvas up and carefully secure the balloons, in no particular pattern, to your board with a tack.
Manny made a small appearance as I was about to secure my balloons to the canvas <3
DIY Balloon Abstract Art II Step Four, secure balloons to canvas
Step back and take your sharp object and very carefully throw/aim for the balloons. As they pop you’ll start to see the masterpiece come to life. I stood about 4 feet away and still got some splatter on my clothes and in my hair so you’re going to want to be sure to do this outside and wear clothes you don’t mind ruining.
DIY Abstract Balloon Art II Final Step
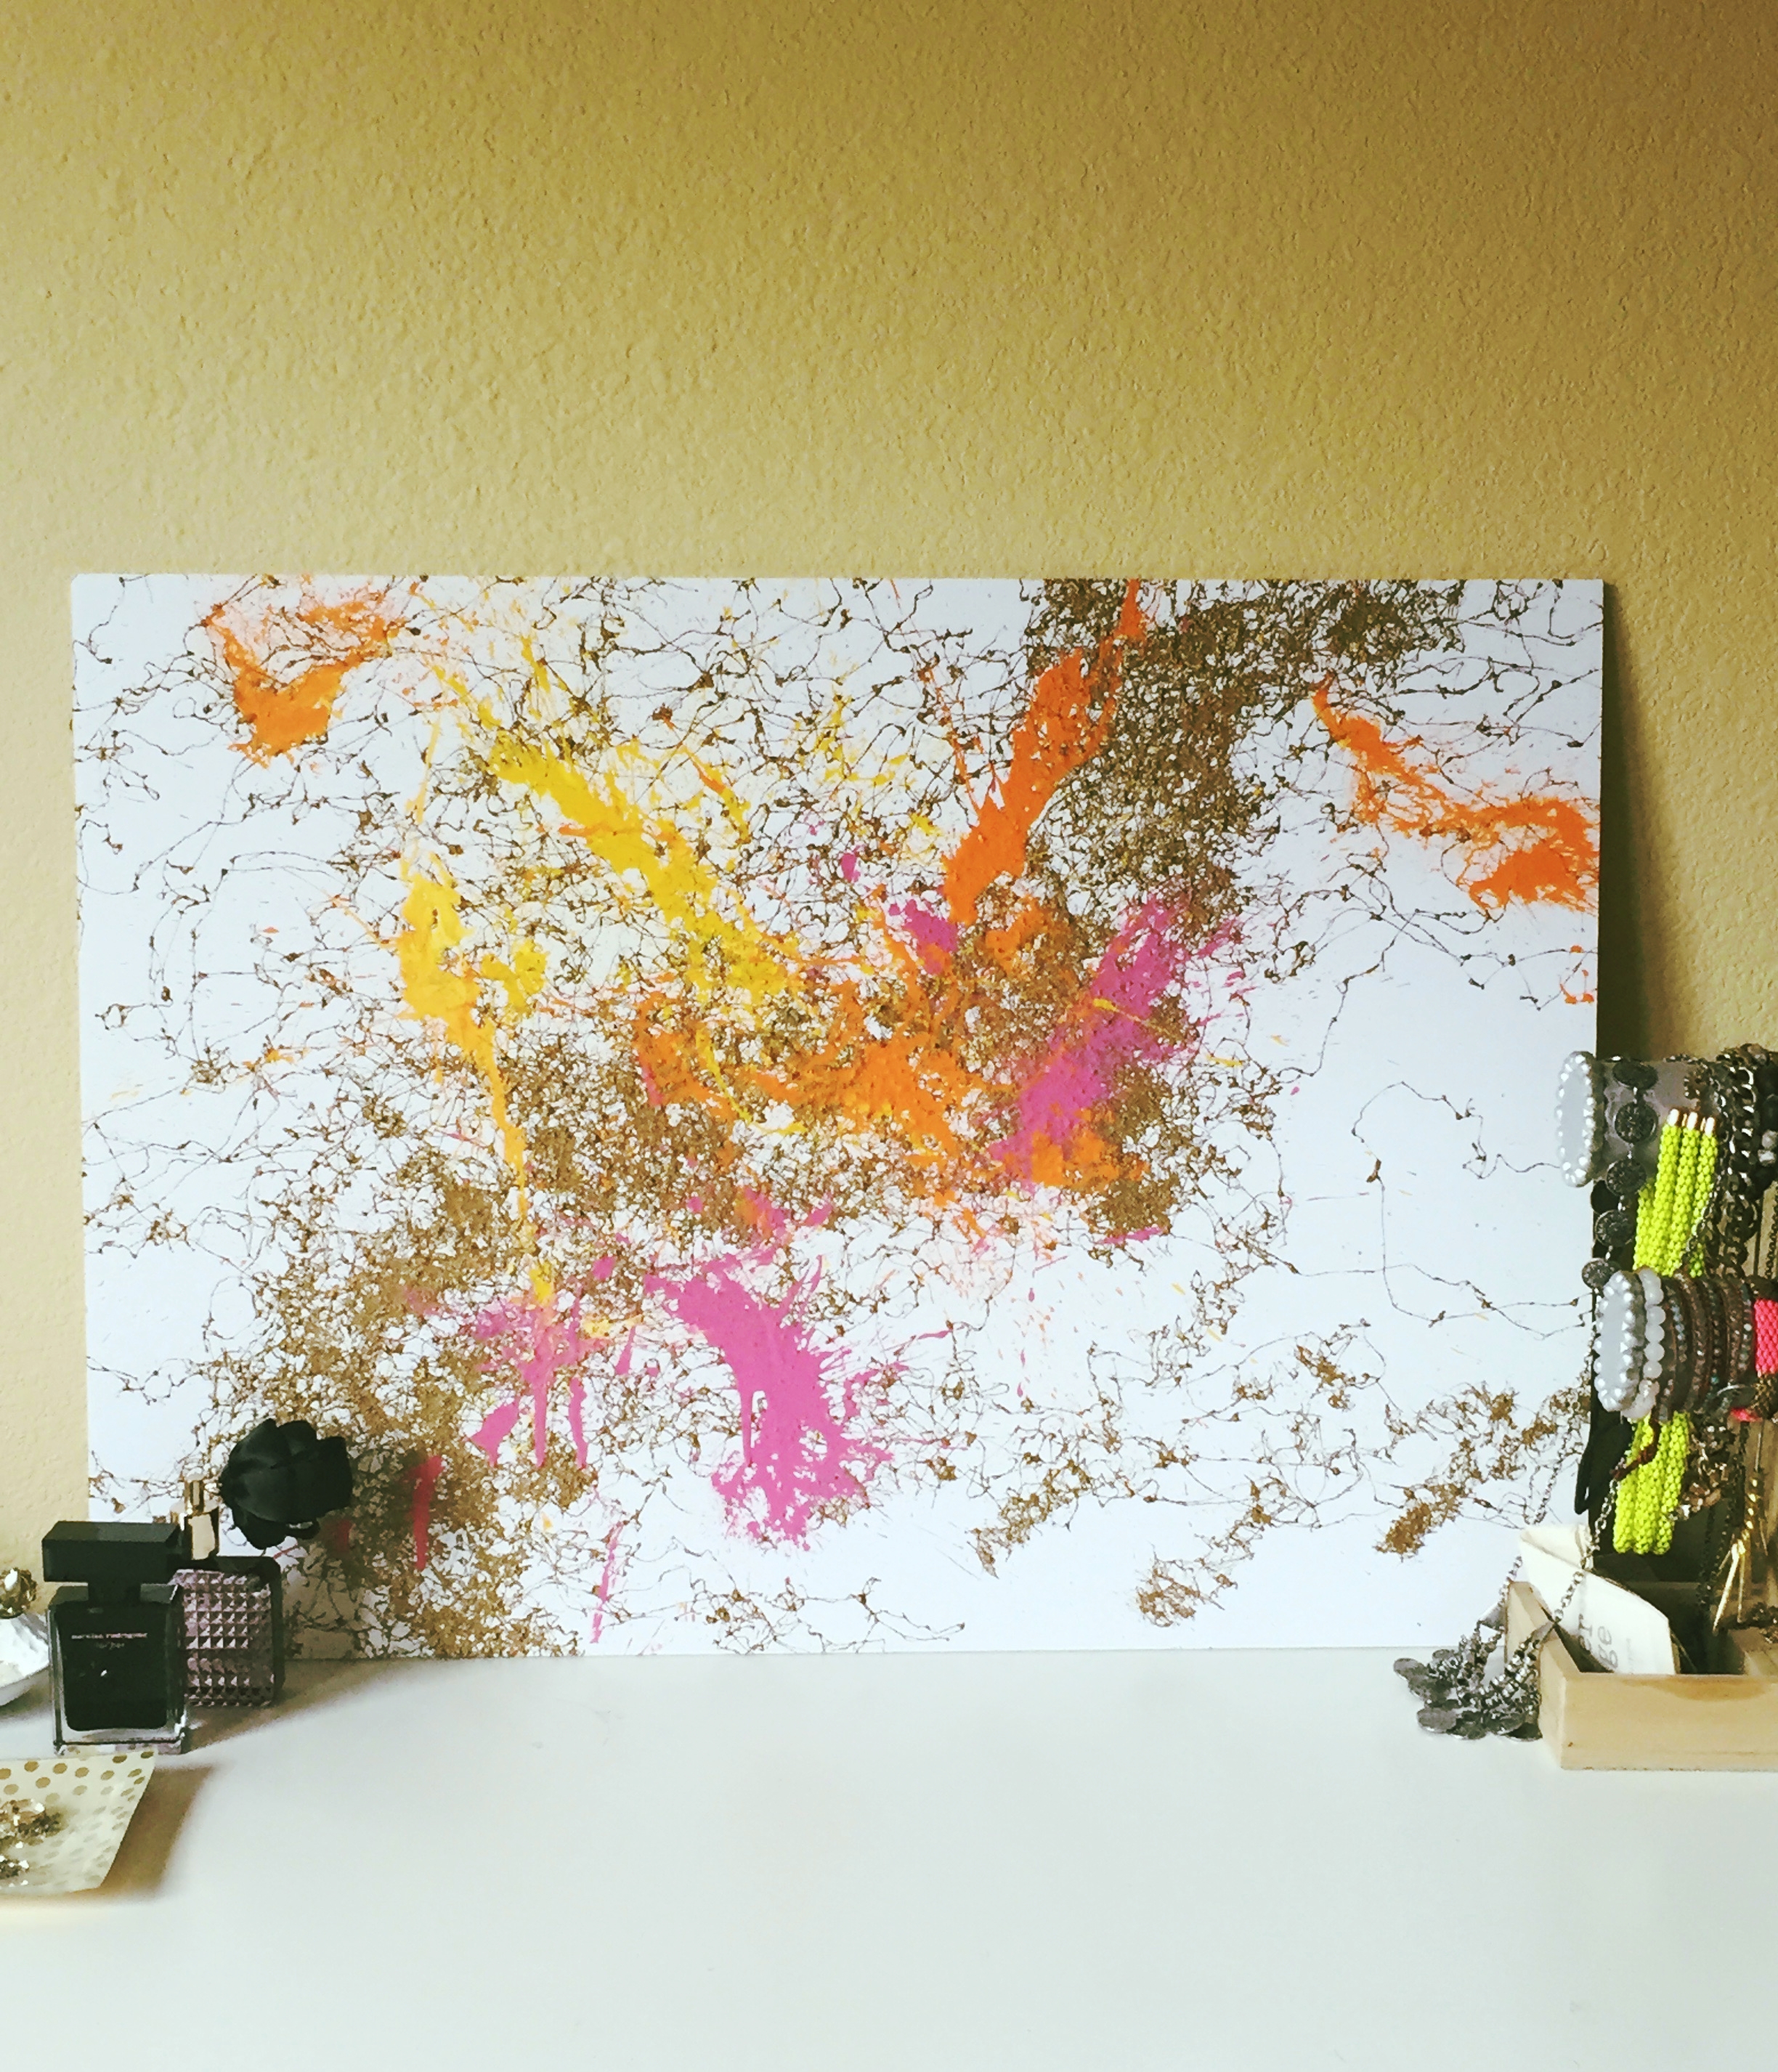
I love the way my abstract balloon art turned out. If I were to do to it again, I’d probably add one or two more balloons for added color but overall i’m really happy with the way it turned out.
Final product!
So what do you guys think?! Are you ready to take on the DIY challenge?! Do you have any favorite DIY's that I should know about?! Let me know if the comments section below, and don't forget to use #YBCdiy if you do it!
pin now, make art later!


