Disclaimer: Our resident food writer Allison from Seek Satiation is back with another recipe post, and this one is brought to you by Clever Yoga, a woman-owned company we love. Check out their nut milk bags and use code 'YBC15OFF' for 15% off. Hope you guys enjoy! xo Candace
I can not deny: I am a lover of cow's milk. A tall cold glass of whole milk still satisfies me when I'm eating a nice piece of dark chocolate or a chewy fresh - from - the - oven chocolate chip cookie. Growing up, it was also a staple in my household; did you also have milk with your dinner every night? Because, for the first seventeen years of my life, I did. When I moved away to college and realized that I could have water, juice, or (...gulp...) Sprite with my sub-par dining hall dinner, my eyes were opened to something new! It was so habitual for me to grab a glass of milk for dinner, and I still did it through my first semester.
Over the years, I've developed a love/hate relationship with dairy, namely cow's milk, for a myriad of reasons unique to myself. I could rattle on about the various pros and cons of keeping dairy in one's diet. It's a food group that affects everyone differently. For me, I love the overall nutrition it can provide, of course. Conversely, when my diet is overall low - to - no dairy, my skin is clear as can be, and as for bloating? Buh-bye! Gone! (That being said, I'm no medical professional; contact your doctor or dietitian if you believe you are having serious issues with dairy!)
I'll still have my occasional tall glass of that white stuff with a good dessert, and you best believe I only go for creamy whole milk when I indulge in a chai or matcha latte. Still, it's nice to have some non-dairy alternatives and to reap their respective nutritional benefits.

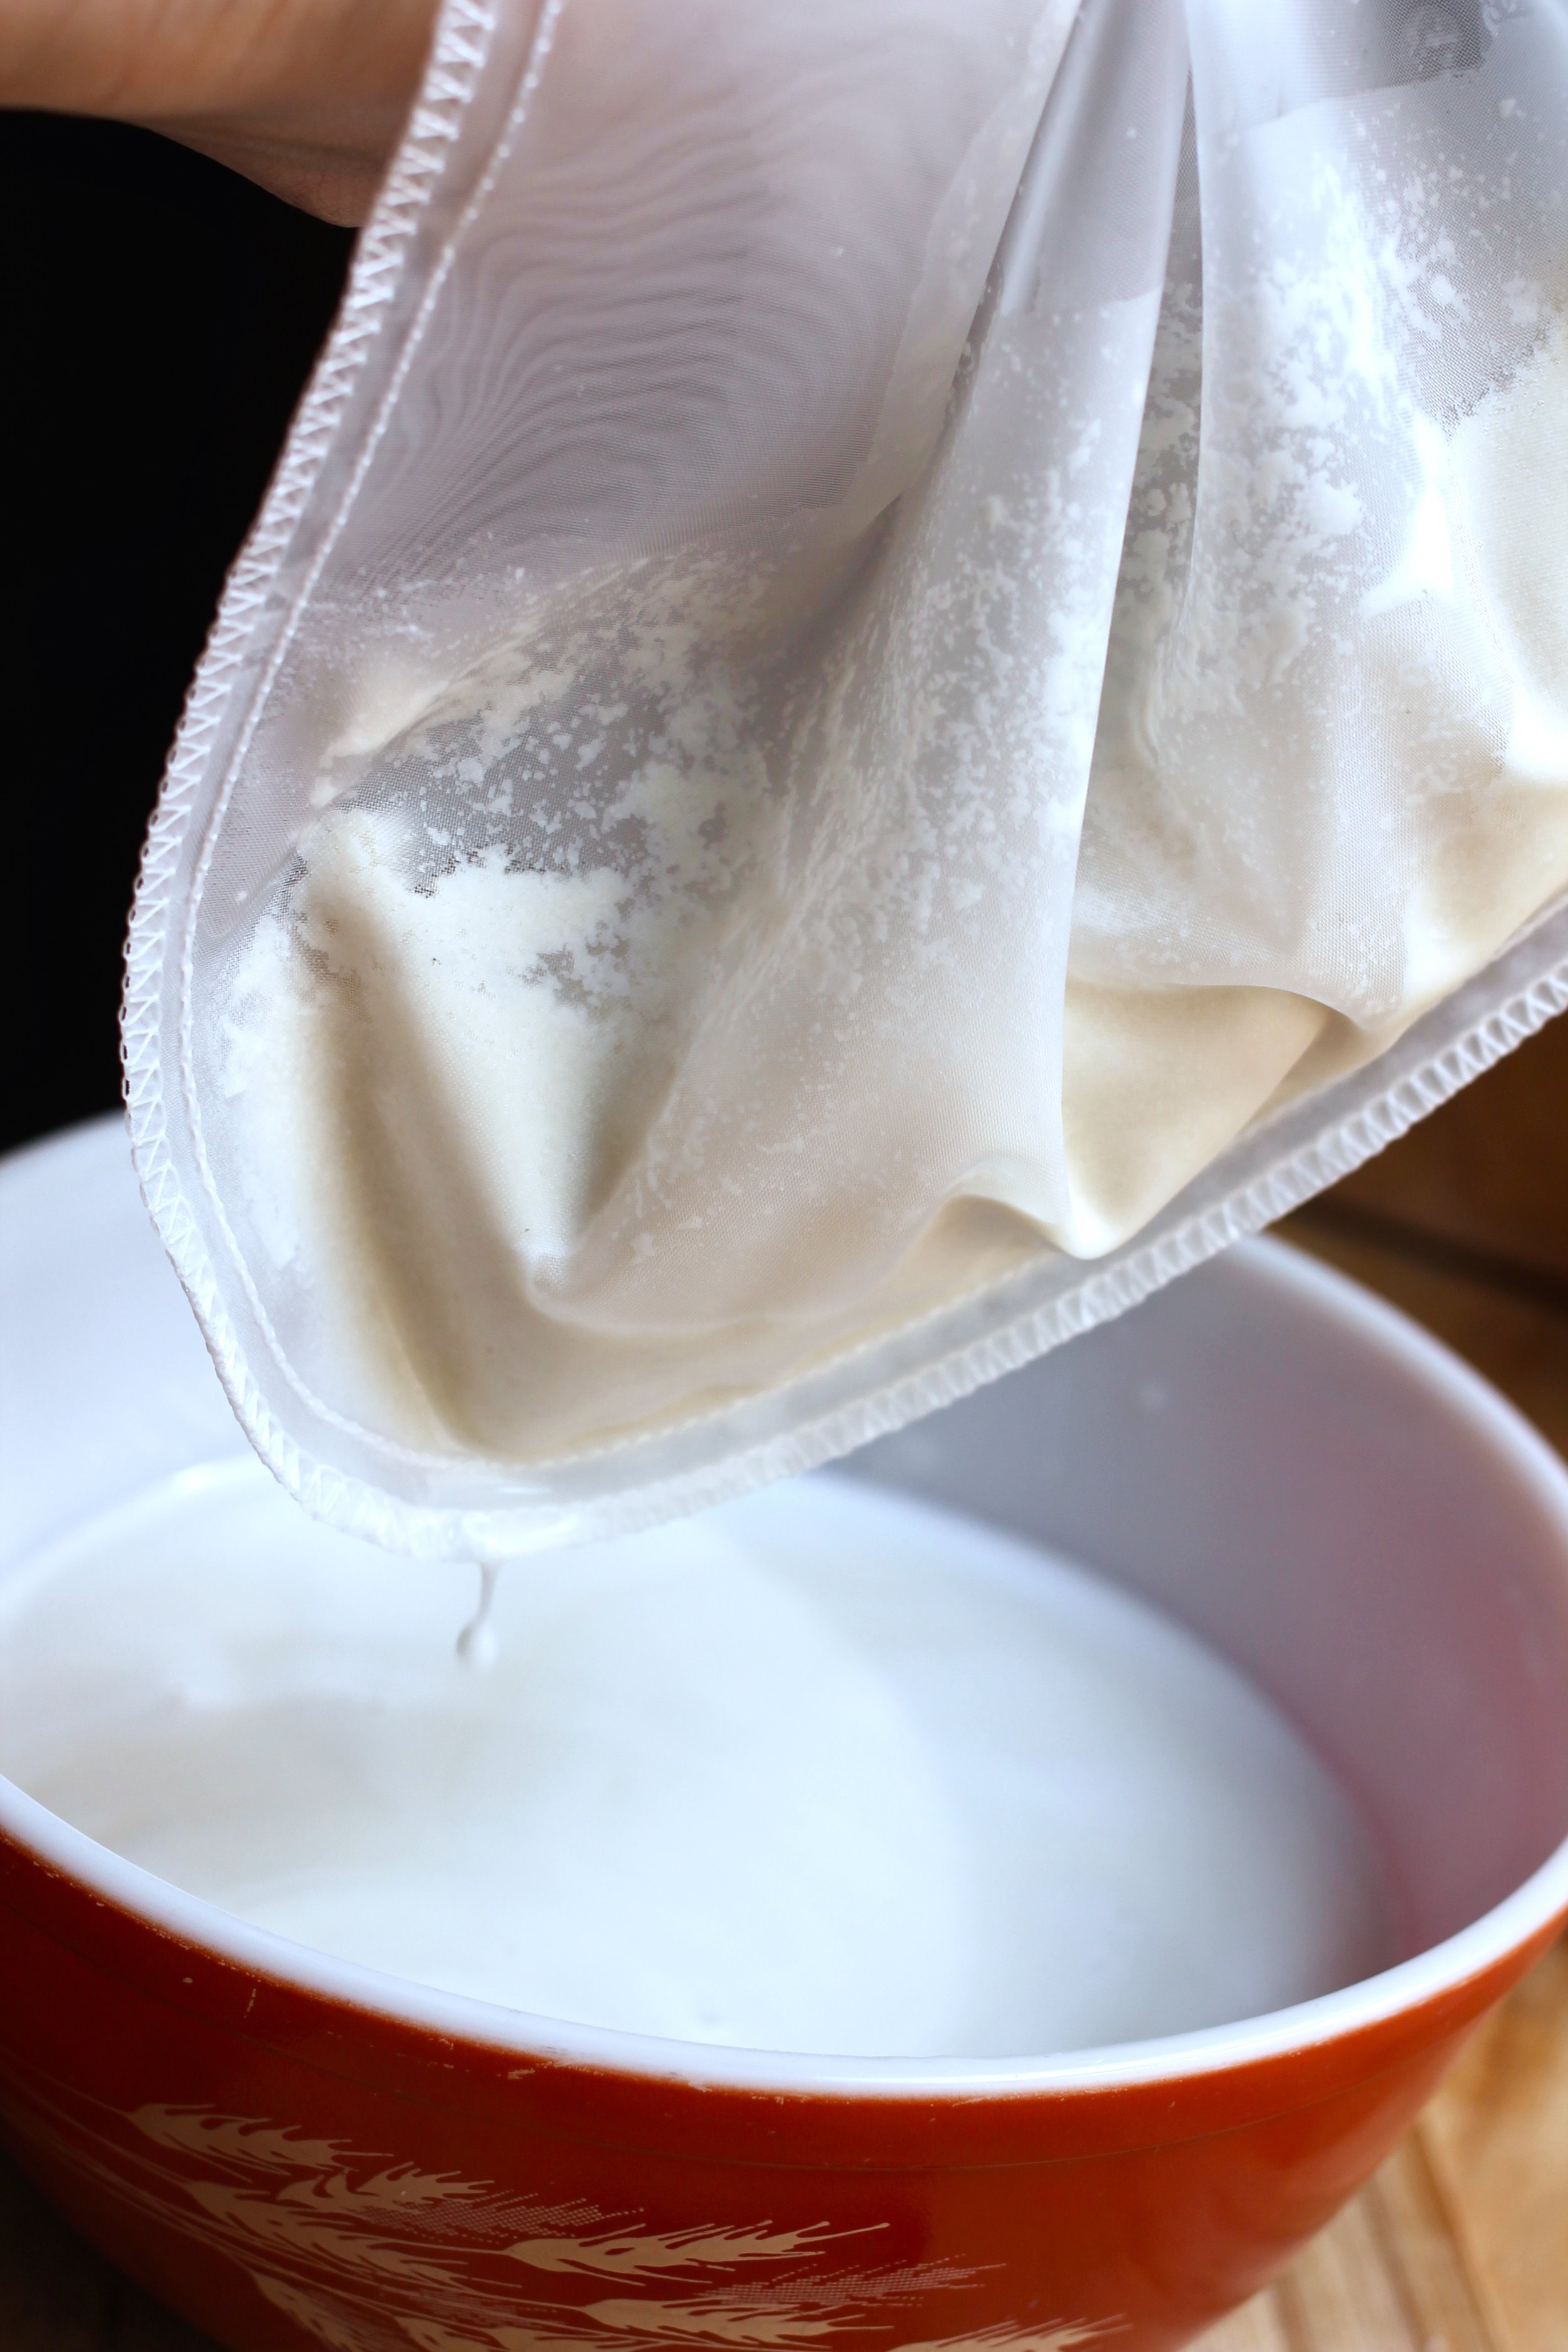
Testing out a nut milk bag for the first time!
Making plant-based milk has been an experiment I've wanted to try for a while, admittedly. I found the concept of it to be a bit intimidating, and goodness knows whenever I'm at the grocery store, I never think to myself, "Hey! Allison! Don't forget to buy a package of cheesecloth to drain your nuts in!" (...heh...) I was recently introduced to HaveSome Goods Nut Milk Bags from Clever Yoga and became excited about making my first batch of almond milk! In fact, inspiration struck, and I opted to make a few other kinds of plant-based milk: coconut and banana! (How tropical!)
The benefits of using these HaveSome Nut Milk Bags are numerous. One, the nylon is exceptionally durable; you can use these bags multiple times whereas you'd be throwing out single-use cheesecloth sheets, therefore reducing unnecessary waste. Two, it holds the plant-based solids well; all of the milks I made came out as smooth as can be, not a trace of pulp from the almonds, coconuts, or bananas I used. Three, by making your own milks with these bags, you can easily control the ingredients you add! While I used to buy any ol' almond milk from the store, I soon became hip to their ingredients; I don't necessarily need to drink guar gum or locust bean gum, do I? Almonds and water - and perhaps a pinch of sea salt - should be it!
Creating Homemade Almond Milk with a HaveSome Goods Nut Milk Bag. So simple!

Almond grounds are held within the HaveSome Goods Nut Milk Bag, making for an exceptionally smooth almond milk.
I am absolutely in love with these bags. I can't wait to make more plant-based milks from them - I am head over heels in love with the coconut milk I made - and I may even use them otherwise! I could make additional plant-based milks, juices, and perhaps even labneh! Hmmmmm. Looks like I might have some more recipes to develop, thanks to these bags!

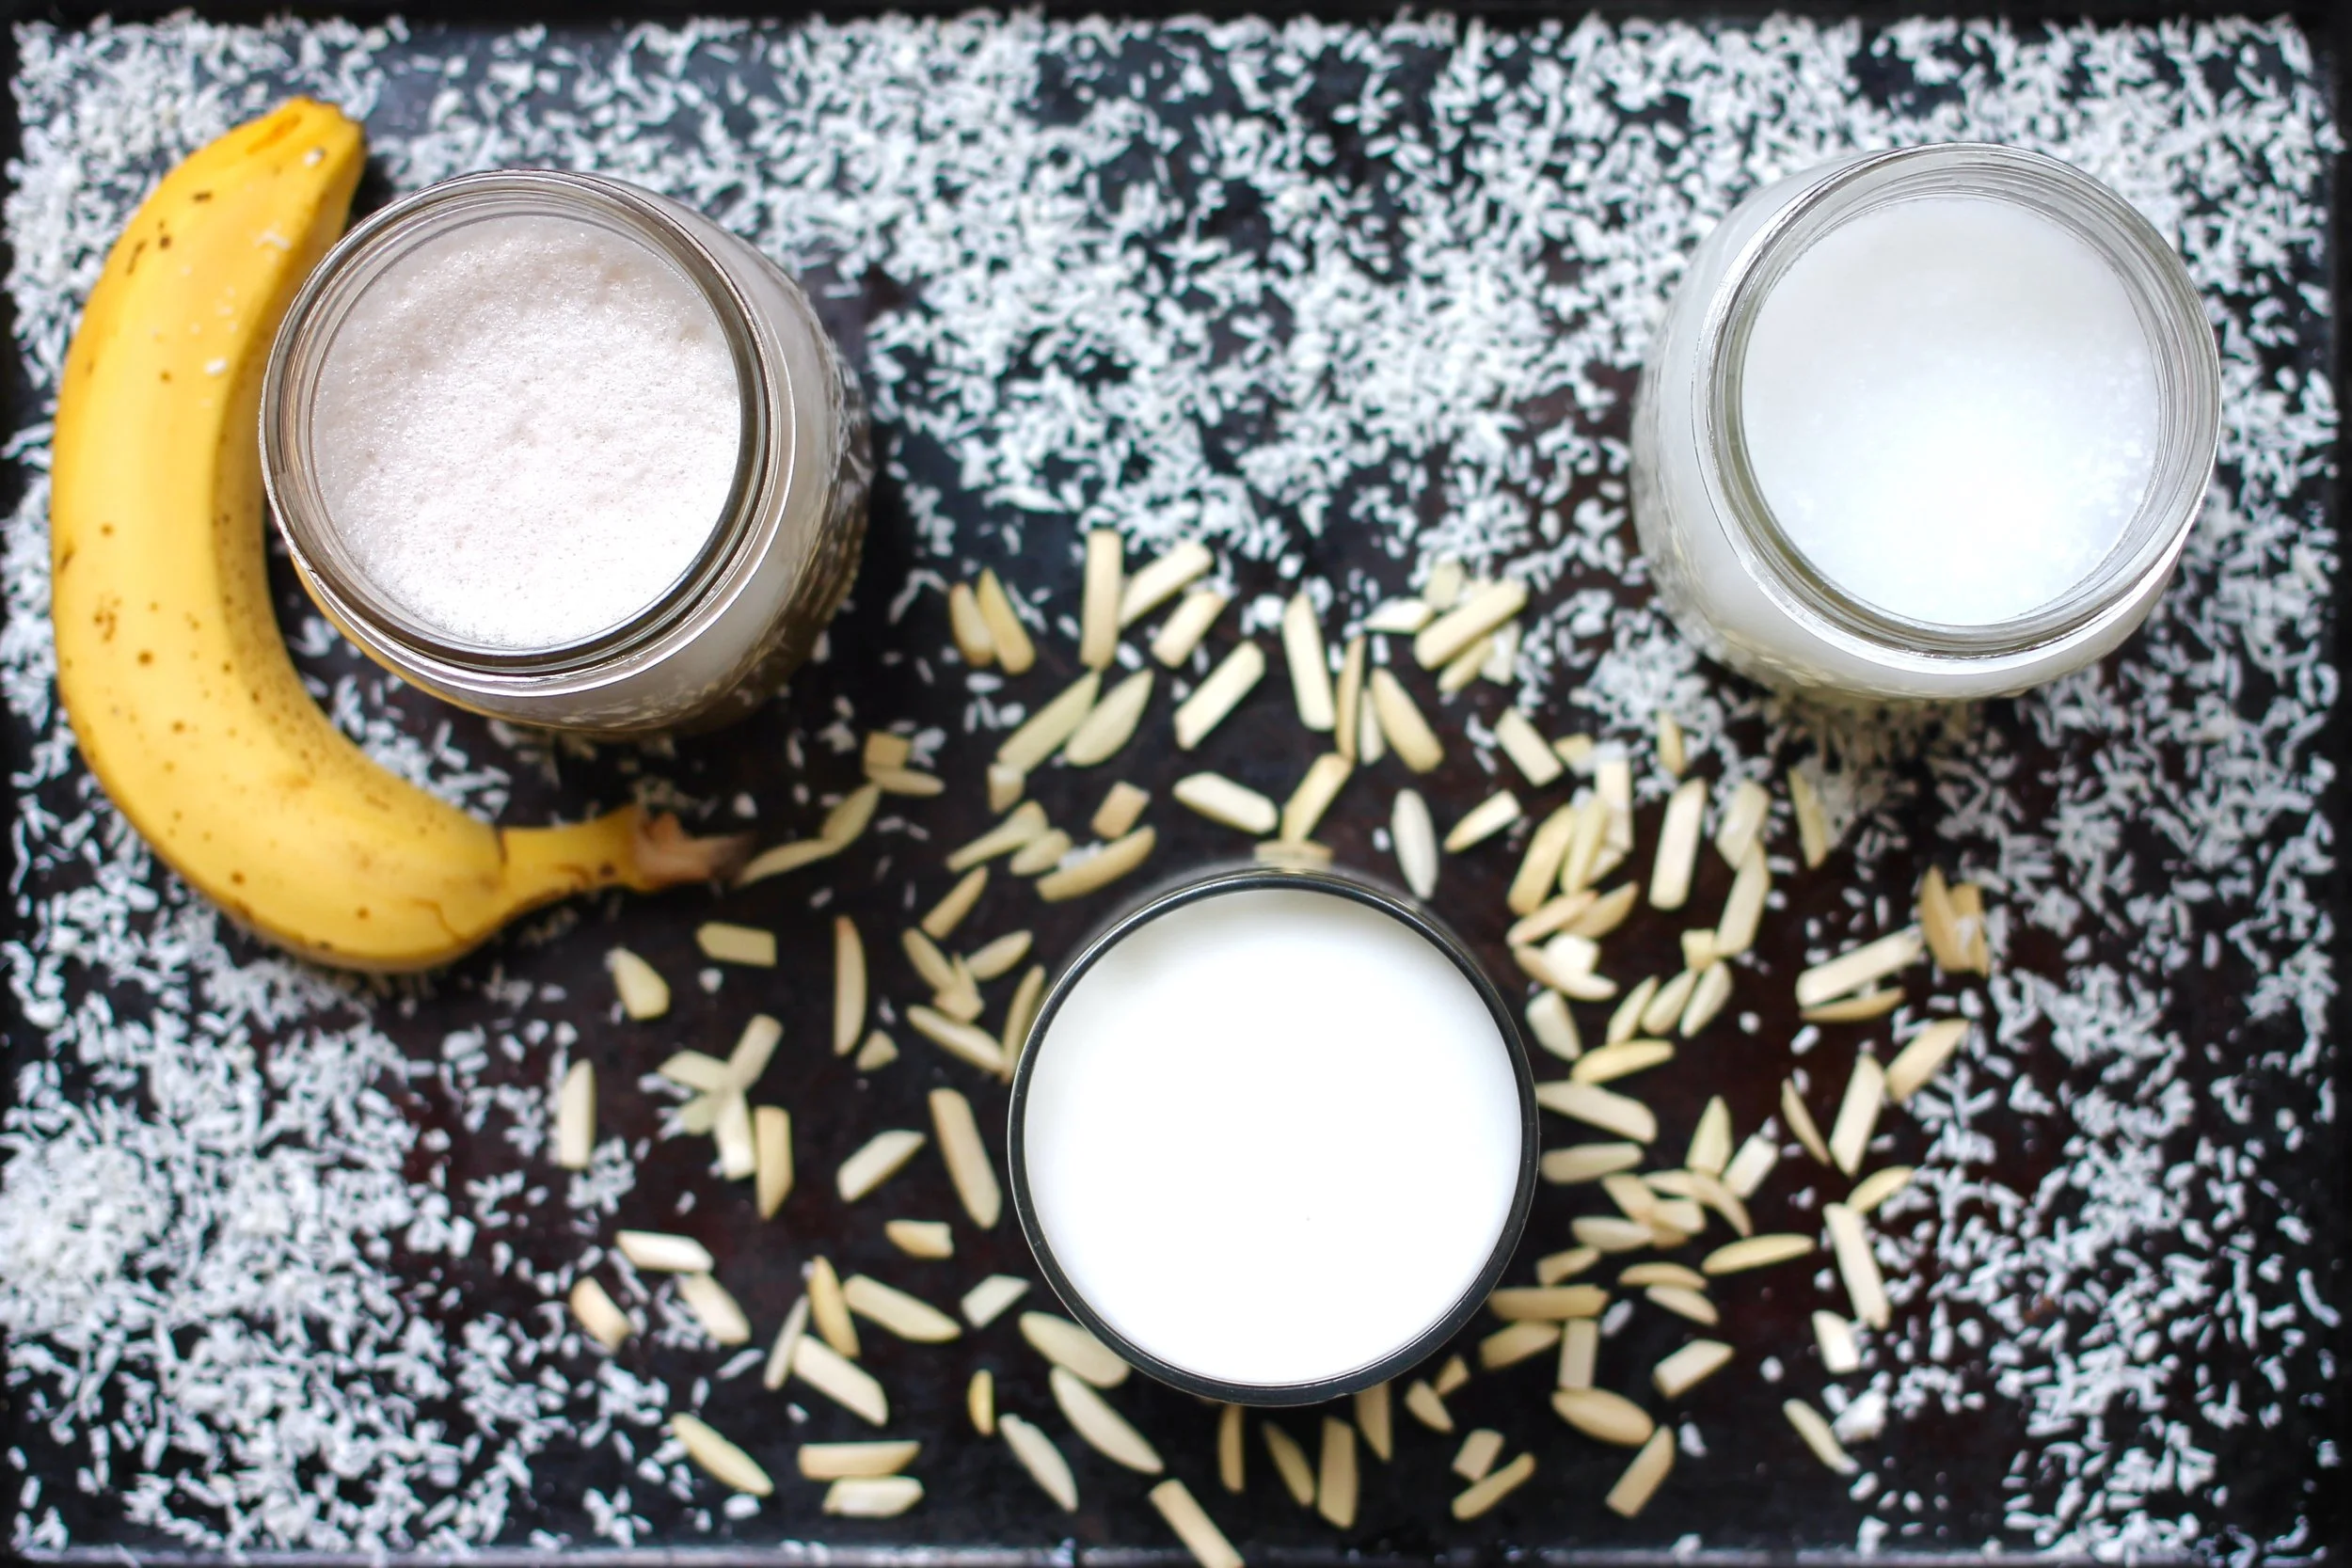
Banana Milk, Almond Milk, and Coconut Milk
NOTE: I used my janky yet well-loved $24.99 blender to create all of these milks. While it's no Ninja or VitaMix, I experienced excellent results!
Almond Milk
(Makes approximately 5 cups)
Ingredients:
- 1 cup sliced almonds, peeled and roughly chopped / slivered (you can also buy pre-slivered almonds; do not use roasted almonds!)
- 2 cups almost-boiling water (for soaking) + 5 cups cold water for milking (preferably purified)
- Pinch of sea salt
Directions:
1.) Bring two cups of water to a simmer over high heat; remove from heat before water comes to a full boil. Place almonds in a large heatproof bowl and top with simmered water. Cover bowl with a dish cloth and allow to sit for 2 - 3 hours. Drain water from almonds.
2.) Add almonds, 5 cups cold water, and sea salt to blender. Blend on high for 2 - 3 minutes or until almonds and water are fully incorporated.
3.) Set nut milk bag over a large bowl. Pour almond milk mixture into the bag over the bowl; gently squeeze and "milk" the bag until all liquid has been removed; the almond grounds remaining inside of the bag should be relatively dry and cakey. Either compost almond grounds or save almond grounds for later use.
4.) Transfer almond milk to a container for storage; should remain fine in refrigerator for up to seven days.
NOTE: Alternatively, almonds can be soaked in cold water for 8 - 24 hours.
Coconut Milk
(Makes approximately 2 cups)
Ingredients:
- 1 cup unsweetened shredded coconut (go for organic, if you can!)
- 2 cups water (preferably purified)
Directions:
1.) Add coconut and water to blender. Blend for 1 - 2 minutes or until coconut and water are fully incorporated.
2.) Set nut milk bag over a large bowl. Pour coconut milk mixture into the bag over the bowl; gently squeeze and "milk" the bag until all liquid has been removed; discard of or compost any leftover coconut remains.
3.) Transfer coconut milk to a container for storage; should remain fine in refrigerator for up to seven days.

Coconut Milk
Banana Milk (Adapted from The Kitchn's recipe for Banana Milk)
(Makes approximately 1 & 1/2 cups)
Ingredients:
- 1 banana, soft but not overly ripened (i.e. - try not to use bananas that have started to brown!)
- 1 cup water (preferably purified)
- Pinch of sea salt
1.) Add banana, water, and salt to blender. Blend for 1 - 2 minutes or until all ingredients are fully incorporated.
2.) Set nut milk bag over a large bowl. Pour banana milk mixture into the bag over the bowl; gently squeeze and "milk" the bag until all liquid has been removed; discard of any leftover banana remains. (There should be very little banana remaining, but using the bag removes any excess pulp you may not want to consume.)
3.) Use immediately; if not using immediately, transfer banana milk to a container for storage, though it only has a shelf life of about a day! (And yes, it WILL turn brown, though the flavor is not affected!)

Banana Milk, served with ancient grain and millet puff cereal. Don't let the color or consistancy fool you. This is actually delicious!
Let's talk: I'd love to hear your thoughts - have you ever made a plant based milk? What'd you use? Any special favorites I should try in the future? Any special requests for future food posts from me here at YBC?