Welcome to the weekend, my friends!
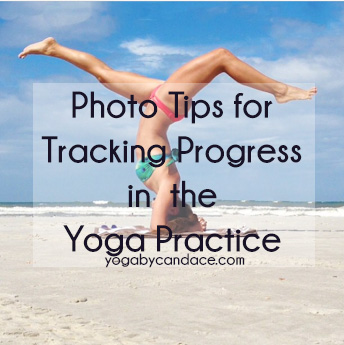
Today marks Day 1 of the 39 Day Yoga Progress Project, and a couple people on the Yoga Forum and on instagram have asked for tips on taking yoga photos, so here I am!
For the Yoga Progress Project, we're looking at flexibility, and later on down the line we're going to be taking two more progress photos. It'd be great if we could get nearly the exact same photo each time, so here are my tips:
Pin it, and learn how to track your flexibility in yoga
1. Pick a blank background
Choose a blank or neutral background. A bunch of stuff in the background is distracting and takes away from your pose. If it's possible, avoid wearing the same color pants as the background. While you can still see my pants here, it's just distracting that there's a black background.
Pin it and track your yoga progress
2. Camera height & angle
This project focuses on flexibility, so figure out what part of the body is required to be flexible and make the camera in line with that part of the body so we can track the progress over time. Then, check the height of the camera to ensure you'll be able to best track the progress. For example, in the pic on the left above, you'll see that not only is my camera too high, but it's shooting down, and all we're seeing is my foot, not the extension of my lifted leg. In the photo on the left, the camera height is good and the angle is straight on pointing towards the parts of the body that are being worked.
3. Yoga selfie tip
If you don't have anyone to take your photo, use the video feature on your phone. I prefer doing this rather than a self timer because you can ease your way into the pose and find your fullest expression.
Yoga photo tips
To get the picture, just take a screenshot of the fullest expression.
Scorpion pose progress
3. Mark your spot and watch your clothes
Since we're taking a total of three photos over the course of about six weeks, it'd be great if we could get nearly the exact same photo. Make a note of where your body is in relation to the camera, and then intend to recreate the camera height, angle, and the distance the camera is from your body for each progress photo. Aim for a similar background, but if it doesn't work due to travel or whatever reason, just try for a neutral background. Above, I've tracked my scorpion progress. The first two photos were taken in Germany, and the third photo was taken in Connecticut. I couldn't recreate the Germany background obviously, but did my best with a neutral background.
For clothing, baggier pieces can hide the lines of the body, so looking above, I wish I had worn the middle shirt for all three photos. The orange one doesn't really allow us to see a distinct outline of the back the way the middle shirt does, although we can clearly see there's progress. I do like the fact that I unintentionally wore the same pants in the last two. To me, that makes the progress stand out even more and I wish I had been wearing them in the first pic. So if possible, when tracking flexibility progress, wear the same clothing for the pics, and avoid baggy clothes.
4. Take the pic when you're warm
Ok this is a no brainer but it must be said. When it comes time to take your progress photo, make sure to do it at the end of a practice when you're nice and warm. Not only will your fullest expression be, well, more full when you're warm, but being warm can prevent an injury.
Hope those tips help!
Let's talk Now, what video are you doing for today? What pose have you chosen to track? Make sure to use #YBCprogress and check in on the Yoga Forum! Can't wait to see your progress!


