A few months ago a set of beautiful amethyst malas showed up at our headquarters sent from Mala Kamala, a beautiful little shop in Australia (but they ship worldwide!). I’ve seen malas around the office before and at little boutiques on my many shopping escapades but I guess I never really gave them much thought. In my defense, I didn’t really know much about the yoga/meditation/mindfulness world until I jumped on-board with YBC so I’m still learning new things each and every day, the newest being the meaning and purpose of mala beads.
I was sifting through a few things in the office and came across a little information packet that Mala Kamala had sent along with the package that provided lots of useful and interesting information on everything from how to care for your mala beads, how to use your mala beads and it even went as far as explaining how to program and charge mala beads! If you're thinking to yourself, “how DO I charge my mala beads?” you’ll have to check out our recent post that has everything you need to know about mala beads. Anyway, I was fascinated after learning all this new information and I decided I was going to start the search for my very first mala.
Well my friends, if you’ve purchased one before you know they don’t exactly come cheap and with the holidays right around the corner (uh, where does the time go?!) it’s really hard for me to justify spending that much on myself “just because.” So, when it came time for me to do another DIY for the blog, I knew exactly what I was going to do - a DIY mala! and I got everything I needed (plus MUCH more) for about $30.
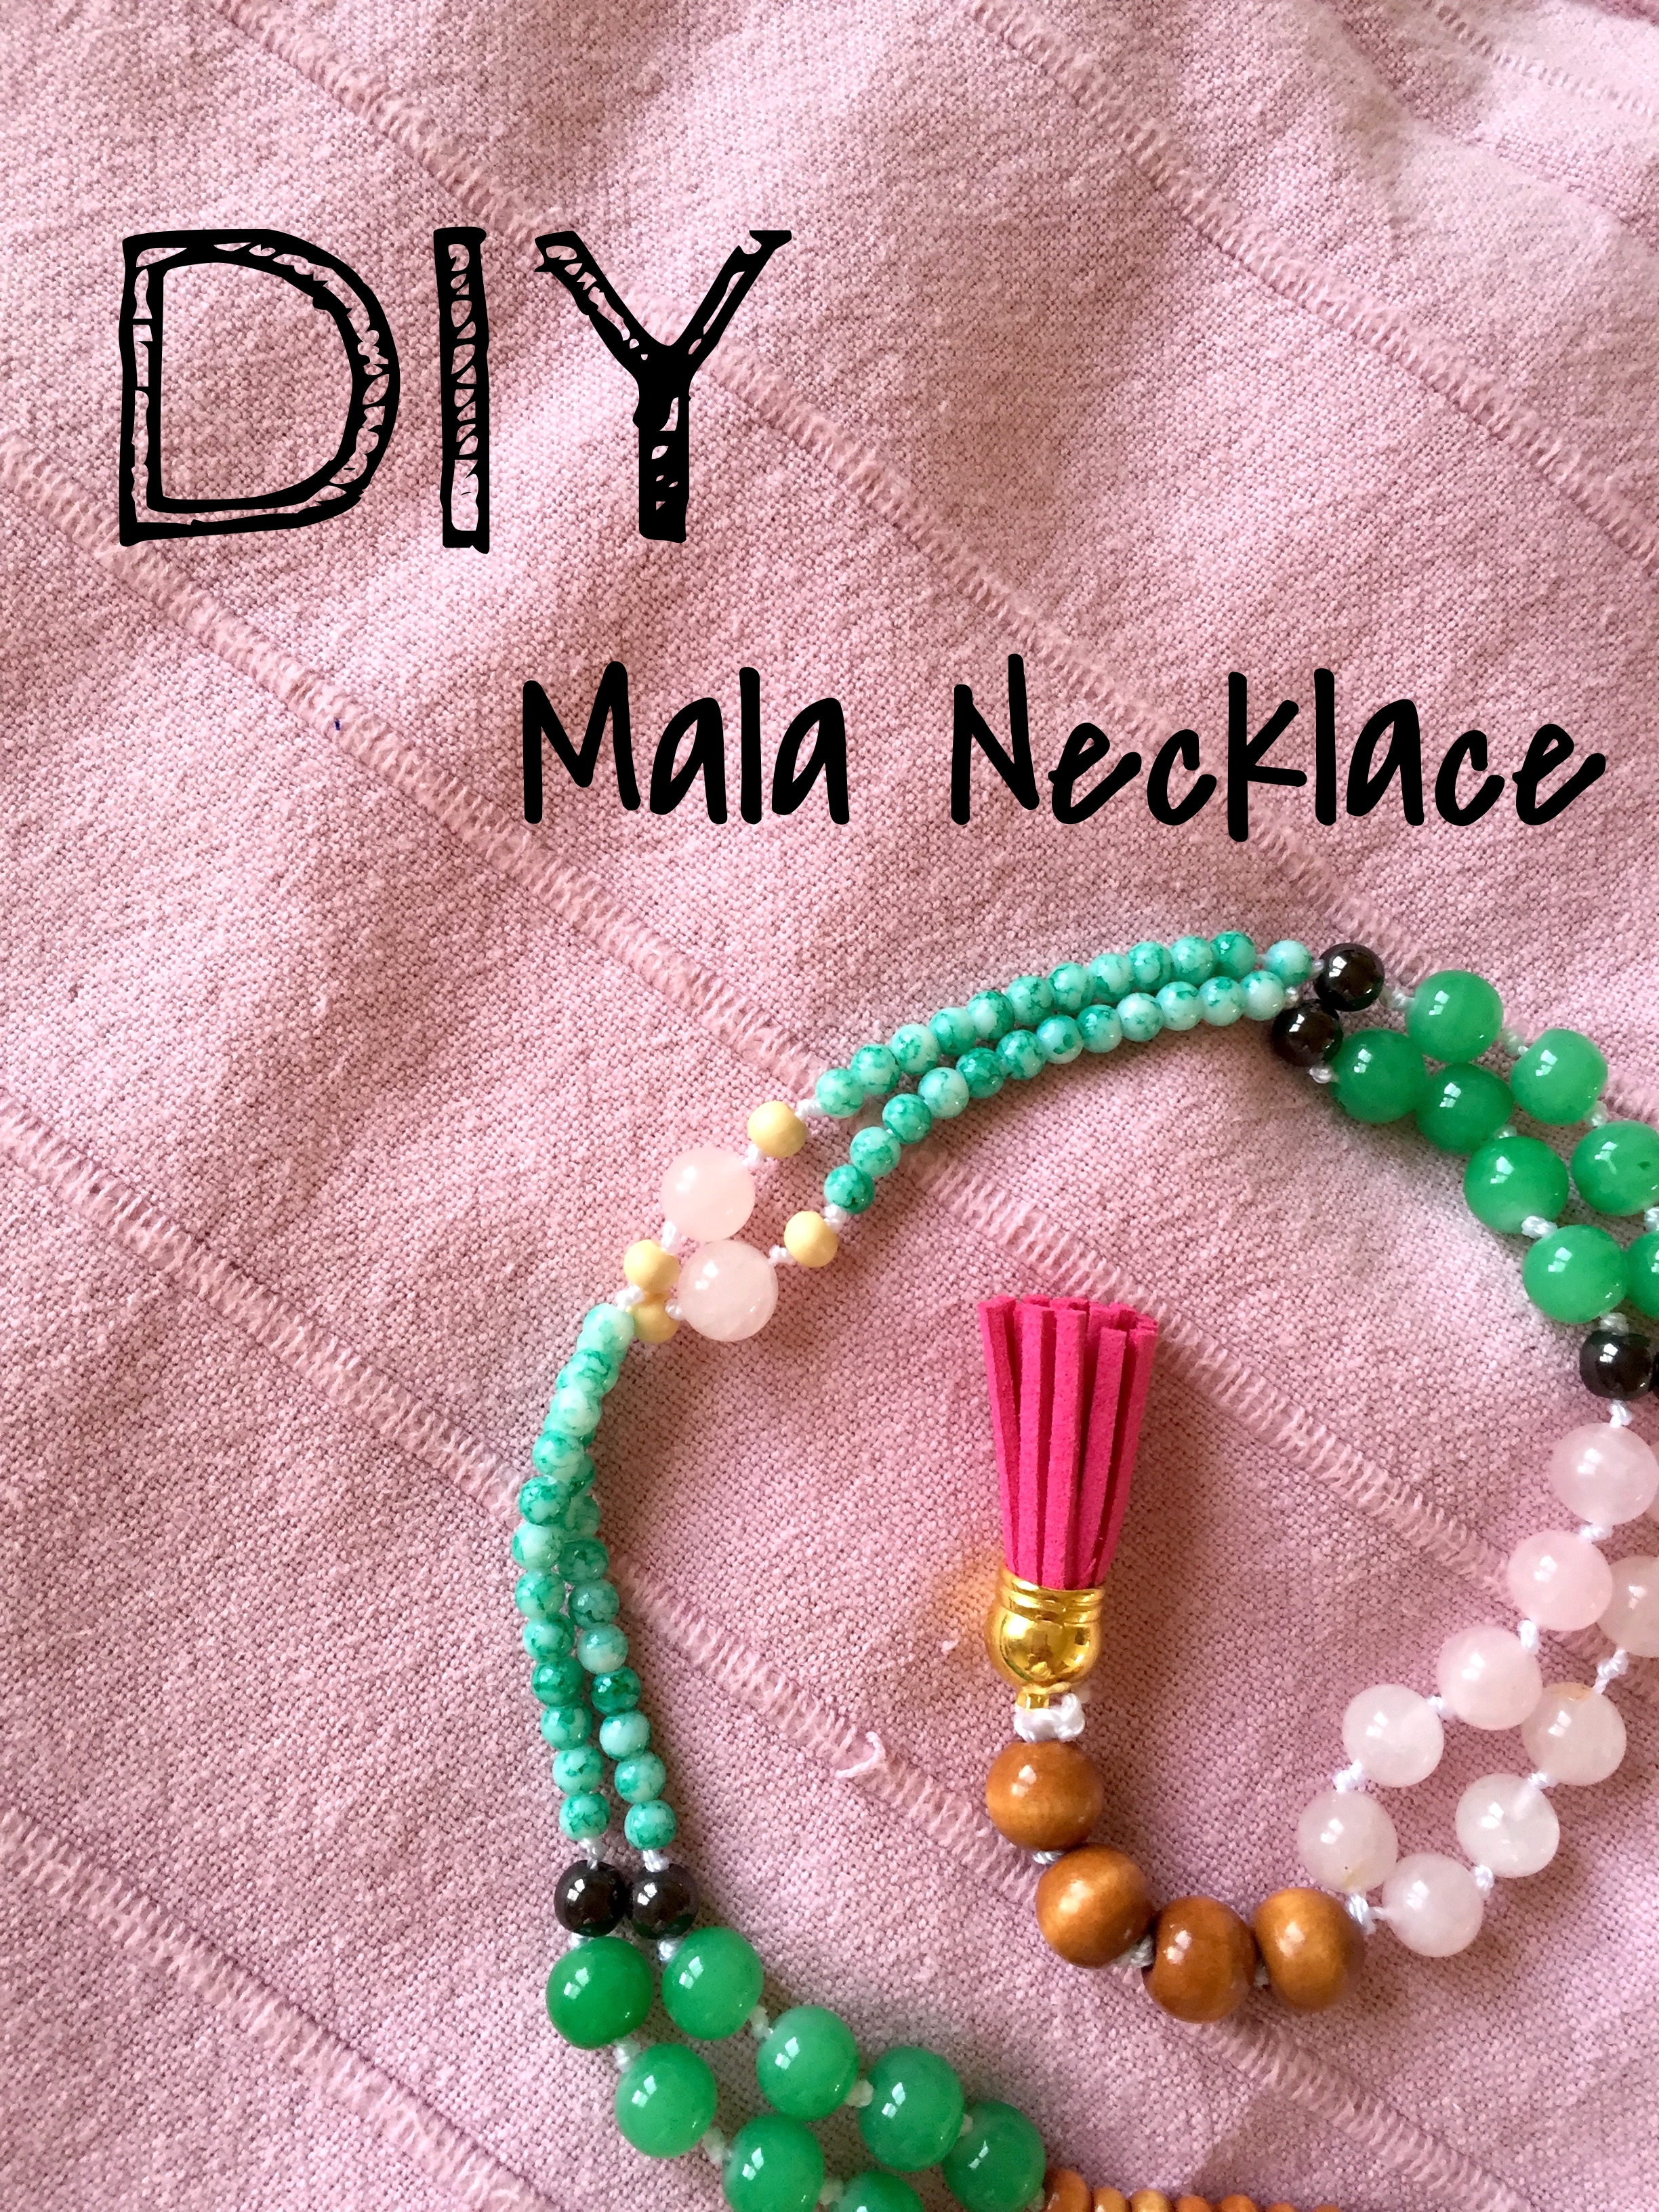
diy mala necklace
Here’s what you’ll need:
- Bead selection, of your choice (these are pretty!)
- 1 guru bead (a larger bead)
- Nylon Thread
- Tassels (or thread to make your own)
- Scissors
- Beading Needle (optional, I didn’t use one)
knot 5-6 in from end of thread
First, lay out your beads in the order you’d like to string them or at least get a good idea of how you want your mala to look. You’re going to need a piece of nylon thread or string if that’s what you’re using, about 3-4 arm lengths long. Make a knot at the end of the thread, leaving 5-6 inches of space between the end of the thread and the knot.
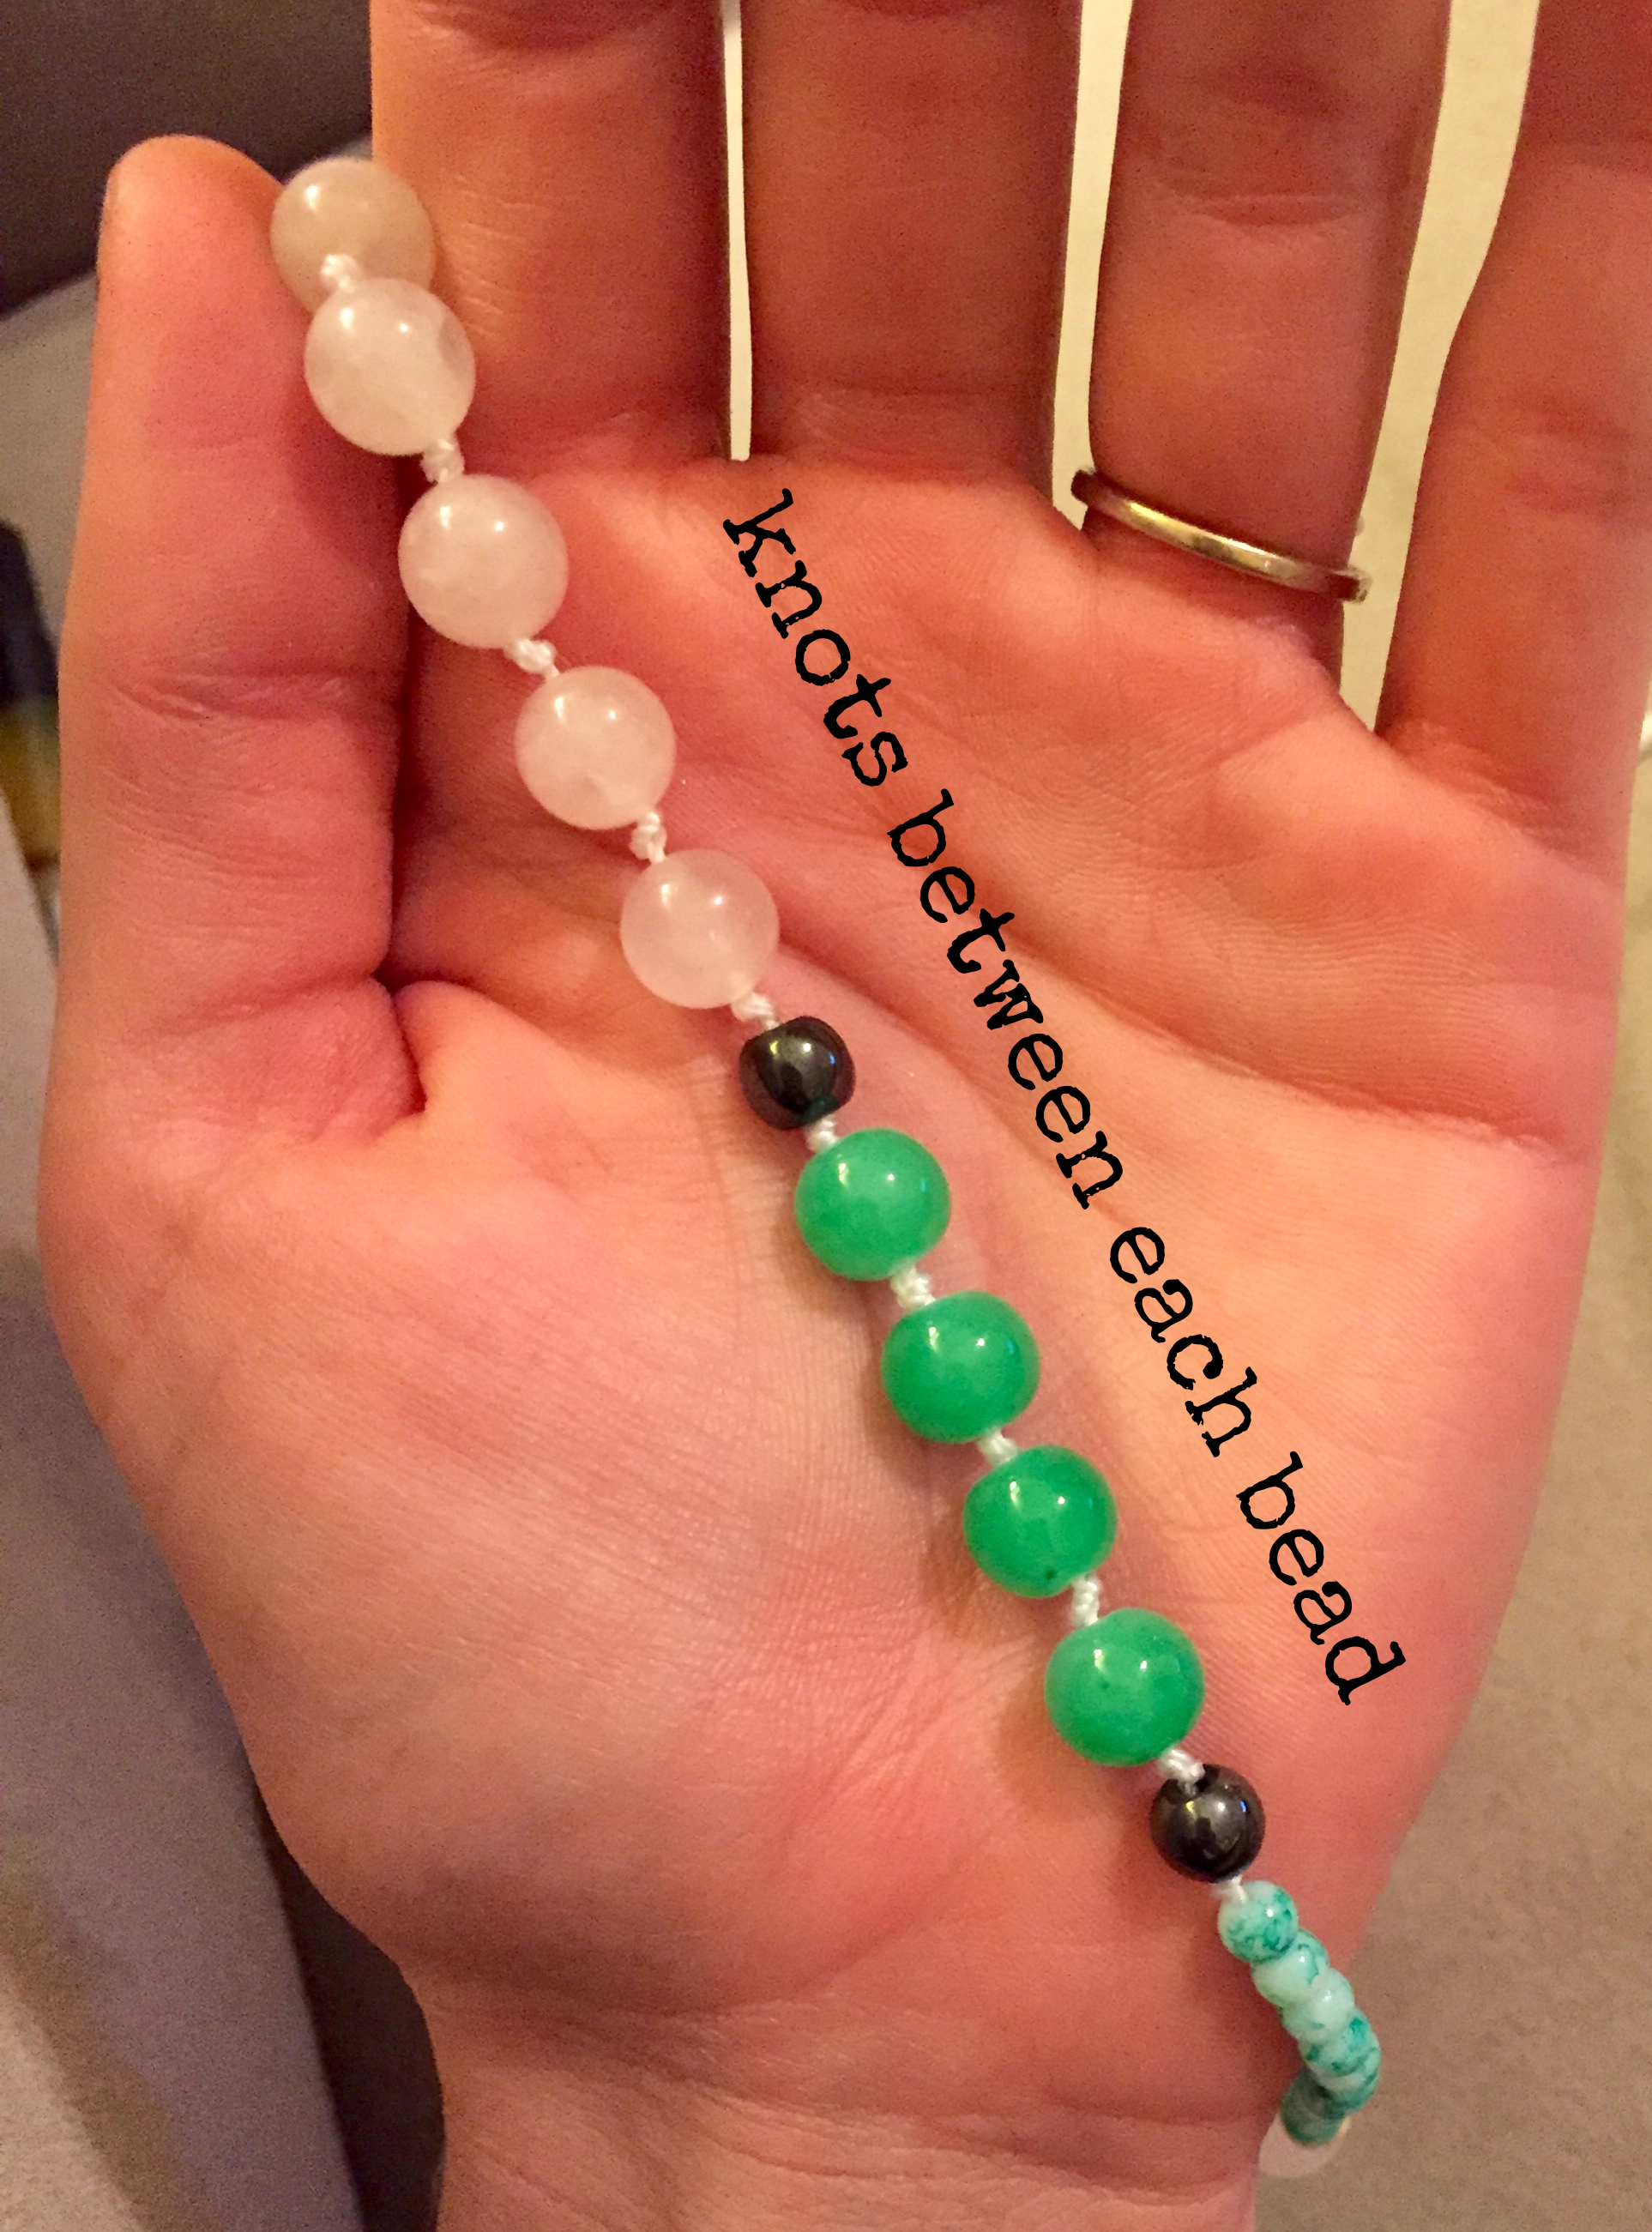
String the beads onto the thread in your desired pattern. Mala necklaces are sometimes strung with knots between each bead, which I decided to do because I think it looks prettier and more delicate but I should warn you that the knotting process does require A LOT of patience and concentration. If you’re pressed for time or have zero patience, I’d suggest skipping that detail ;-)
knotting detail
how to place your guru bead
Once all your beads are on the necklace (traditionally there are 108) it’s time to attach the guru bead - I didn’t have one so I just used 4 rosewood beads instead. Bring both ends of the string together but before you do, make sure you’ve secured each end with a small knot so that the beads are secure (this is a great time to double check that your mala is symmetrical - if that’s what you’re going for). Next, string on the guru bead by inserting both ends of the thread through that one bead and tie a double knot. I wanted a longer tassel section so I continued with a few more rosewood beads before ending my necklace. Now it is time to attach your tassel!
You can either attach a pre-made tassel, or make your own out of embroidery thread. To attach the tassel just tie it onto the end of your necklace using the excess thread.
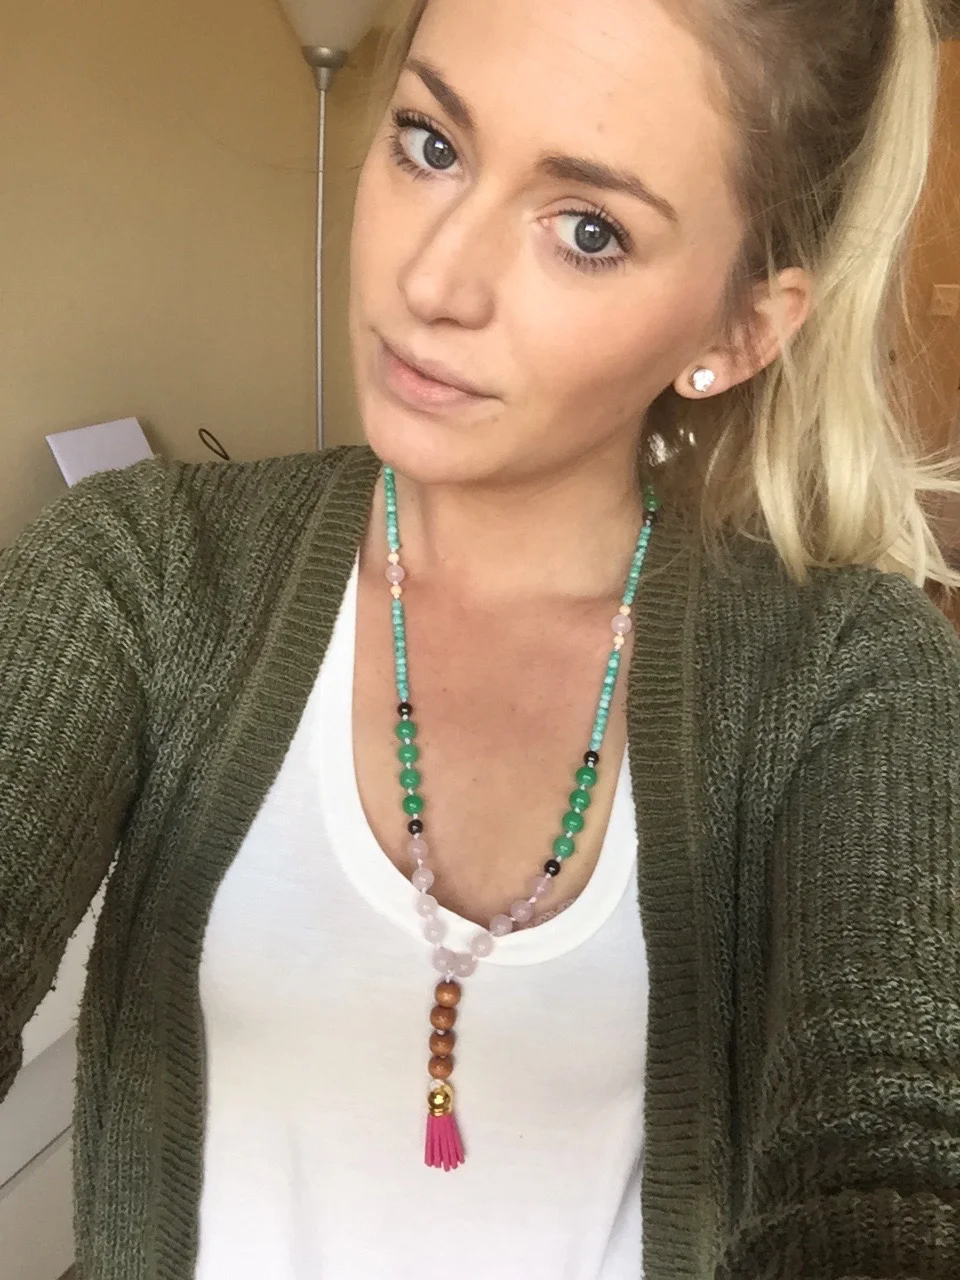
me and my mala!
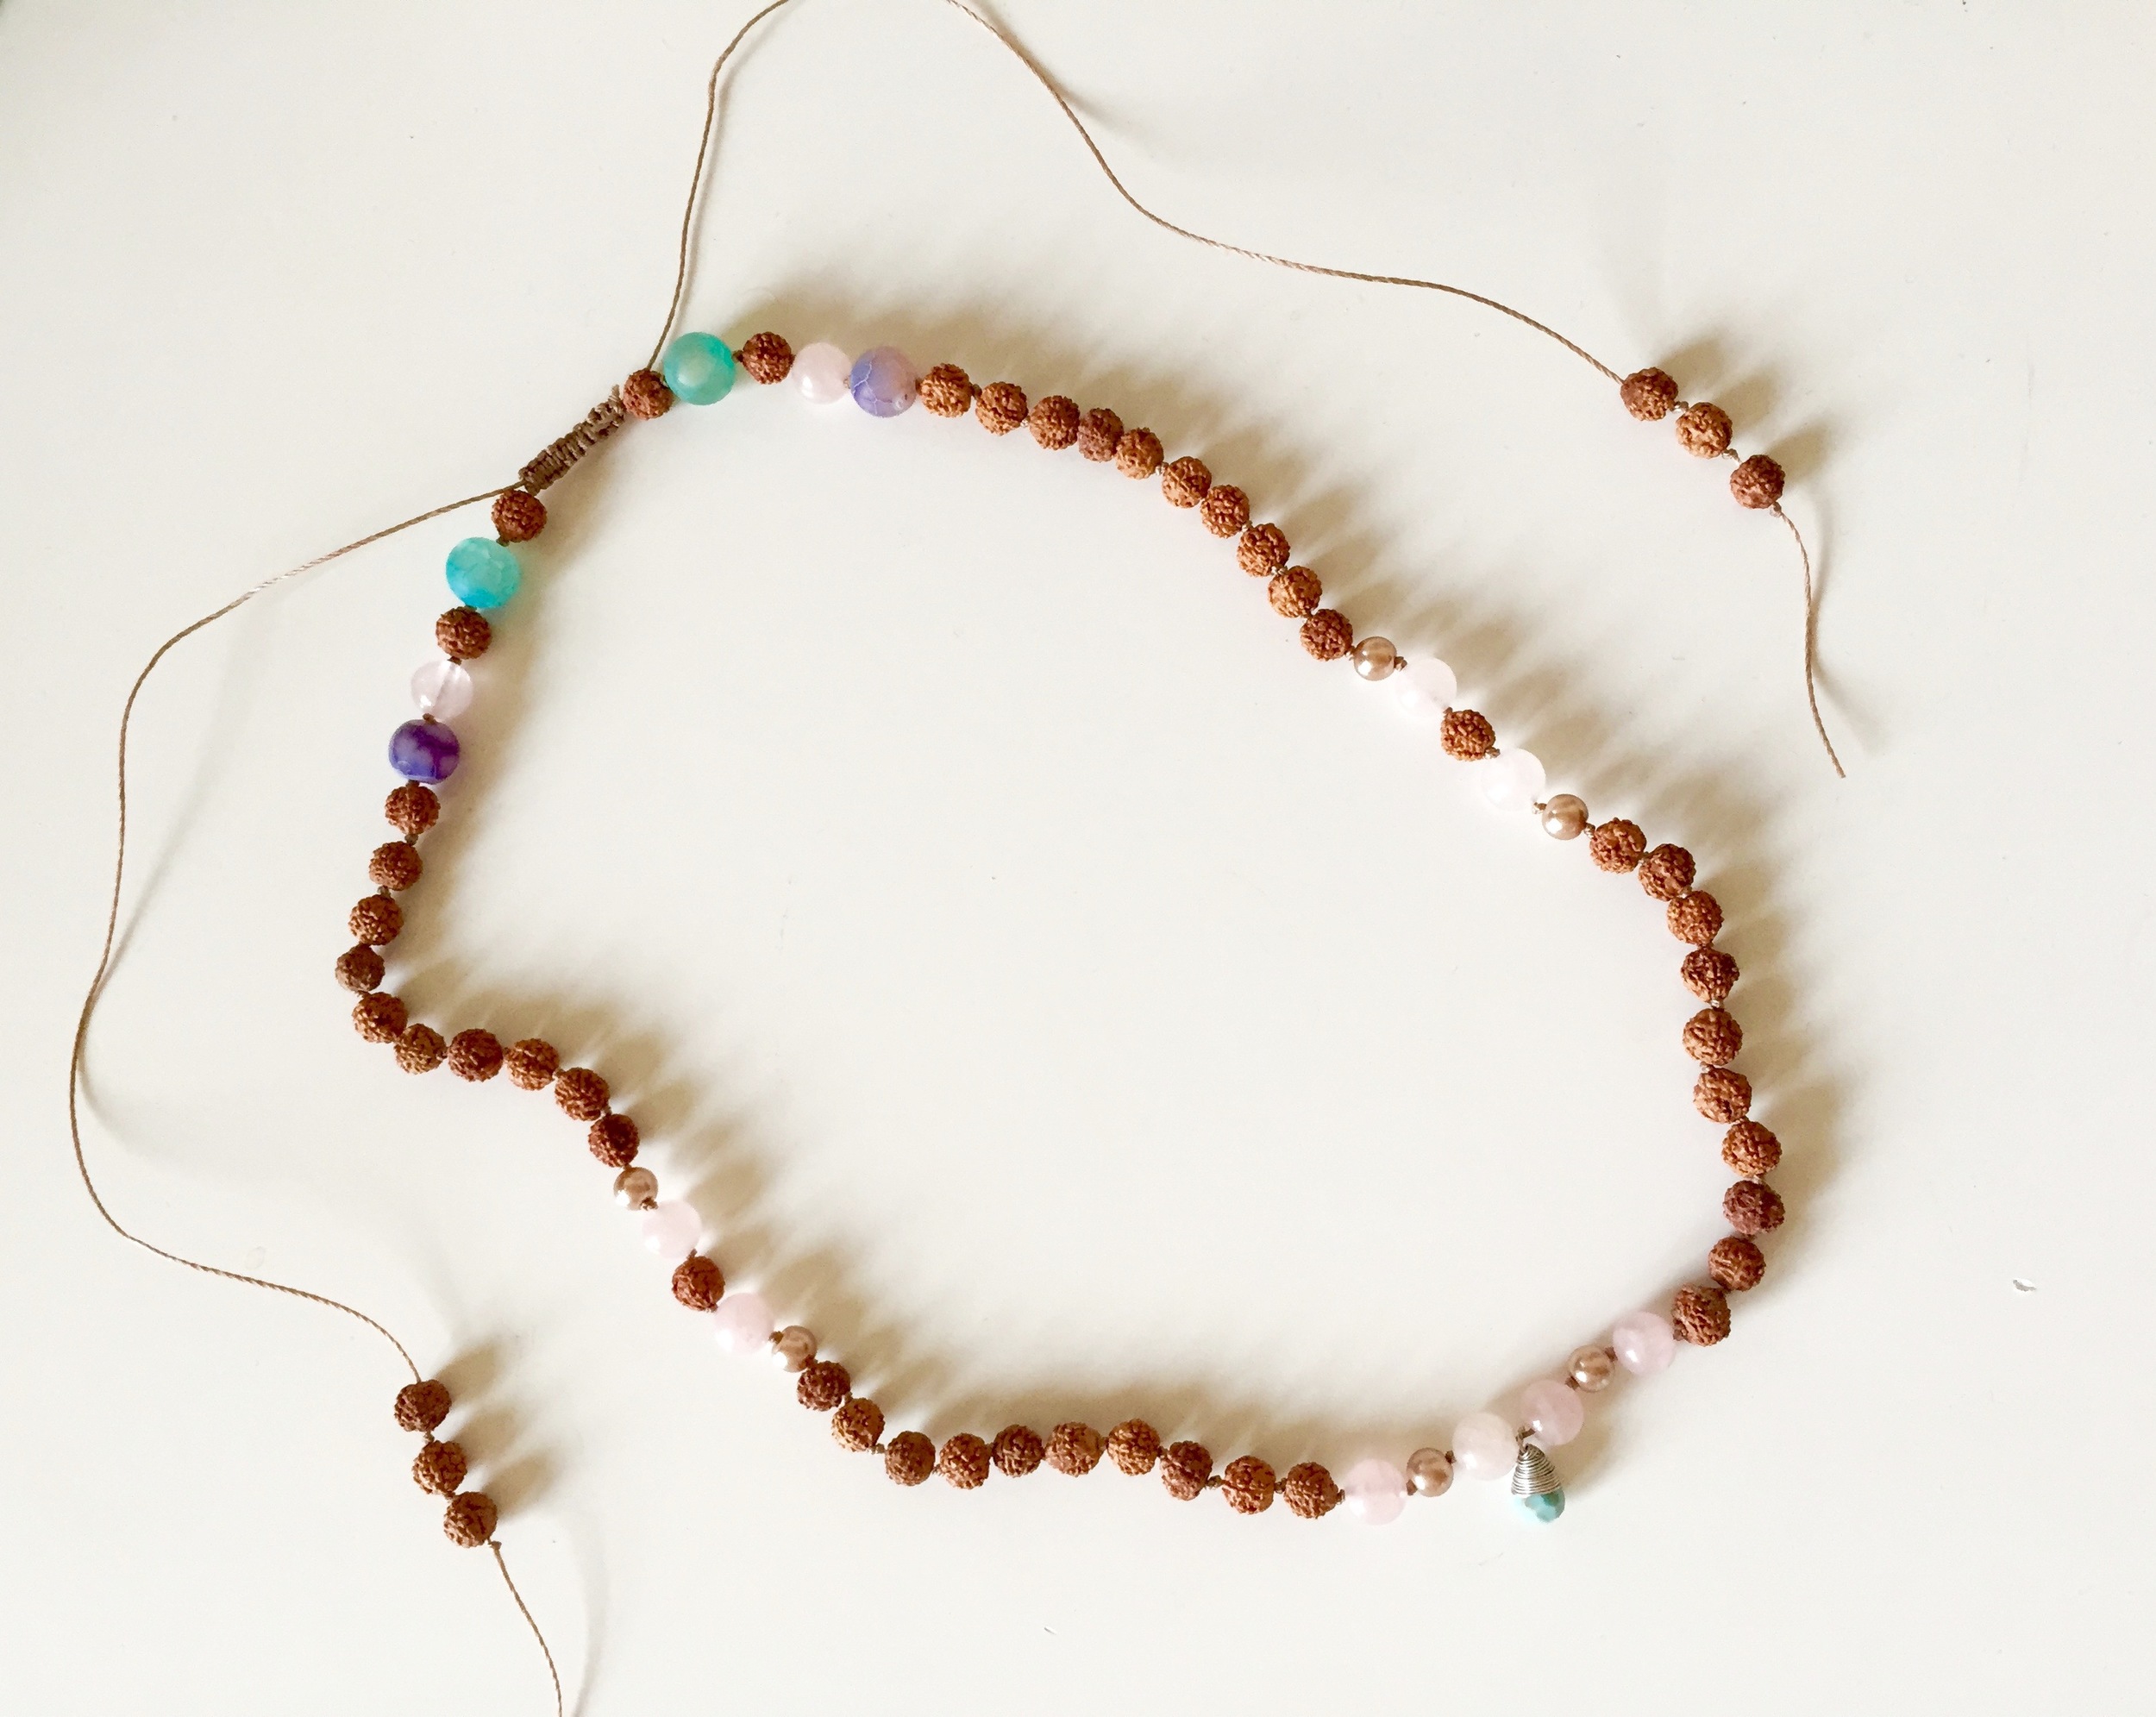
I was so impressed with my very first mala necklace that I decided to go outside the box a bit with a mala headpiece - it’s not totally finished yet but I have this vision of Candace wearing it during one of the lifestyle photo shoots we have scheduled in Las Vegas for our book (fingers crossed it comes out gorgeous!). It’s coming along really cute so I thought I would share with you guys!
mala headpiece
I added a little jem to the front!
I even made it adjustable!
mala headpiece
We want to know: Have you made your own malas before? Did you have enough patience?! Maybe you have a question? No worries! Comment below or tweet @YBC_Lauren to join the conversation!


