I'm so proud of all of you that stuck with the #YBCbalance project for March. There are so many incredible stories of progress on the forum, and pictures on instagram (a few below), and I can't wait to see what next month brings.
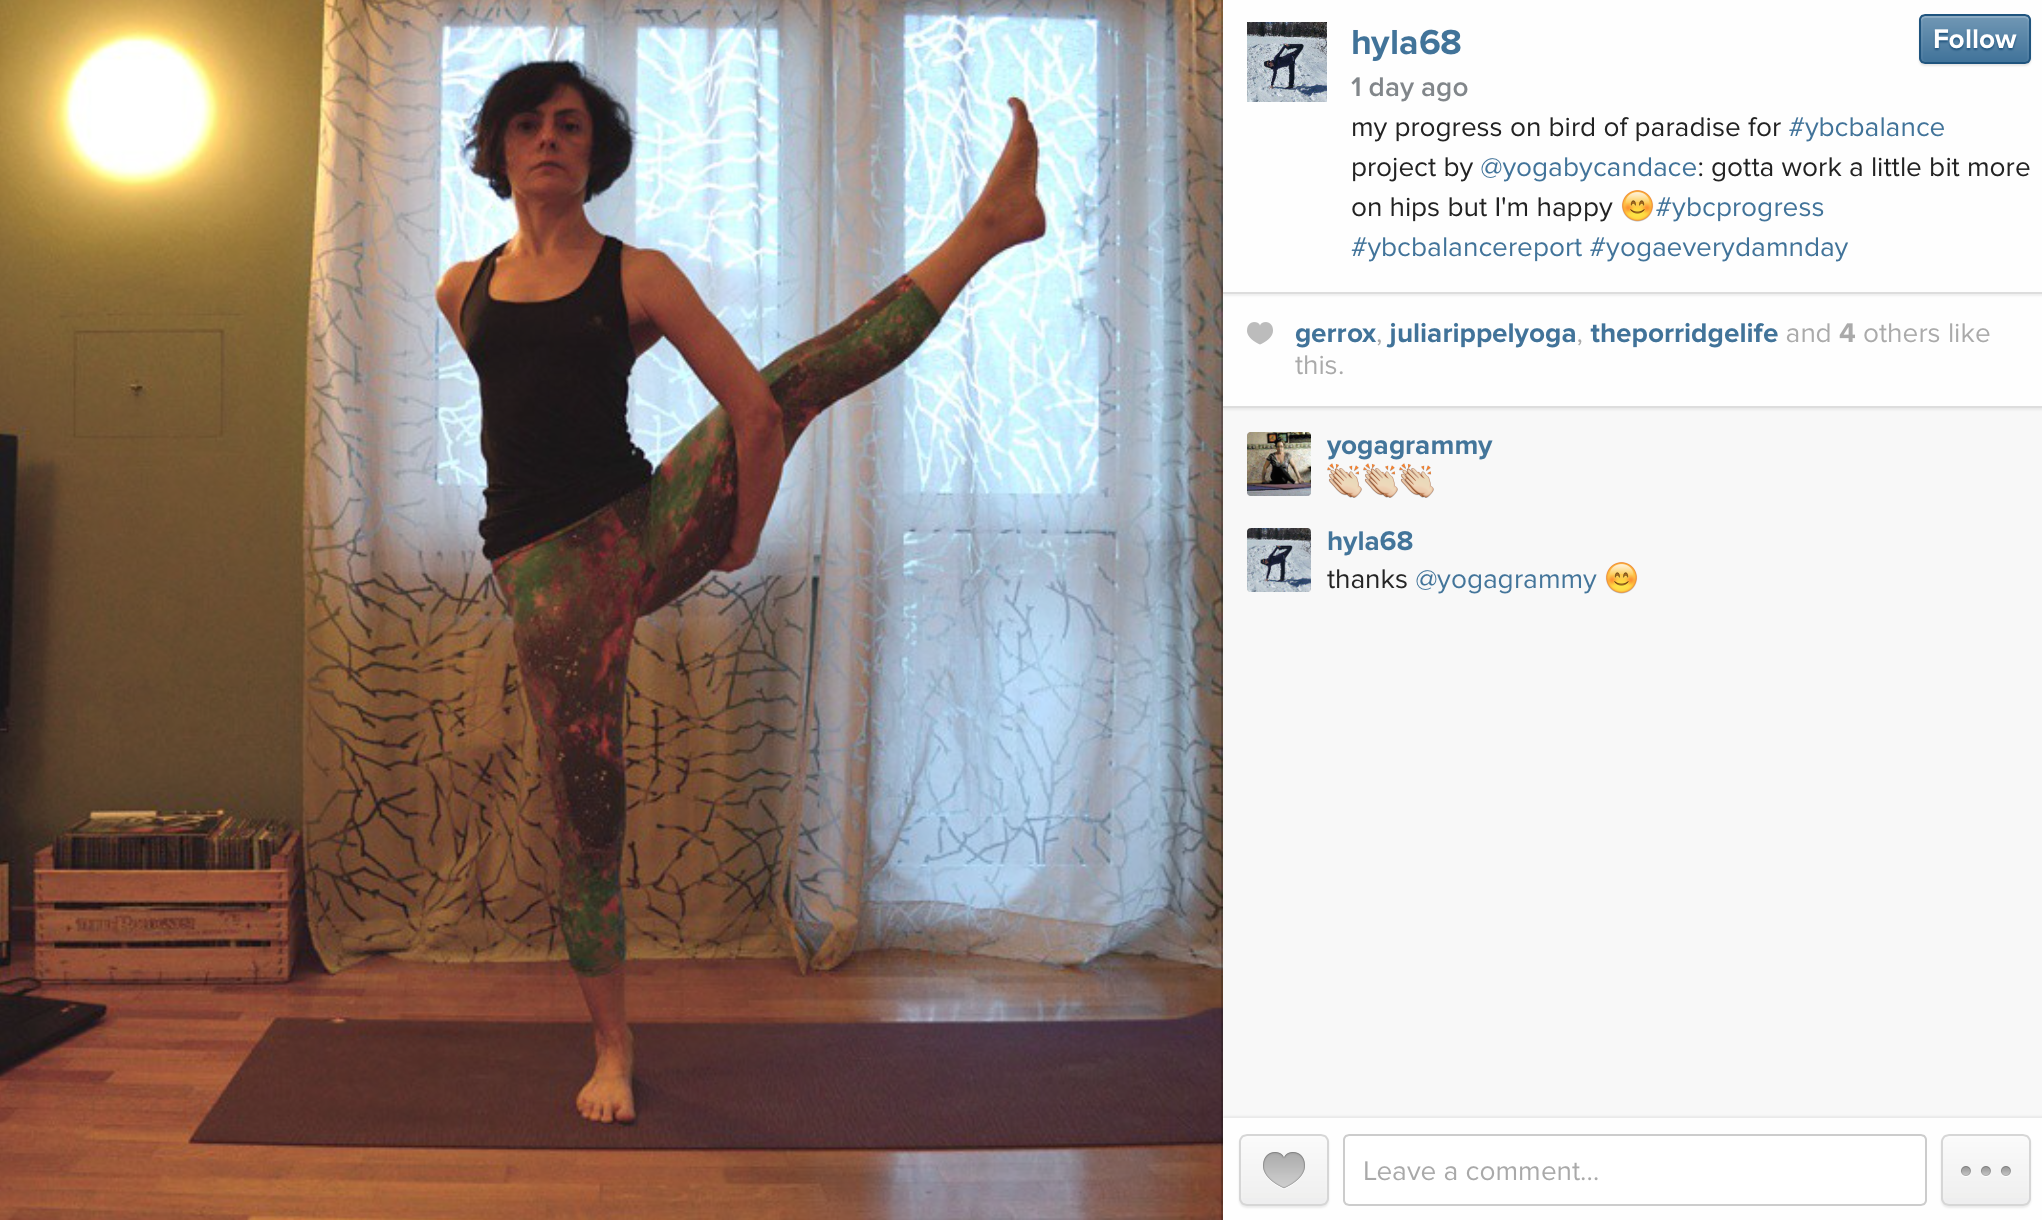
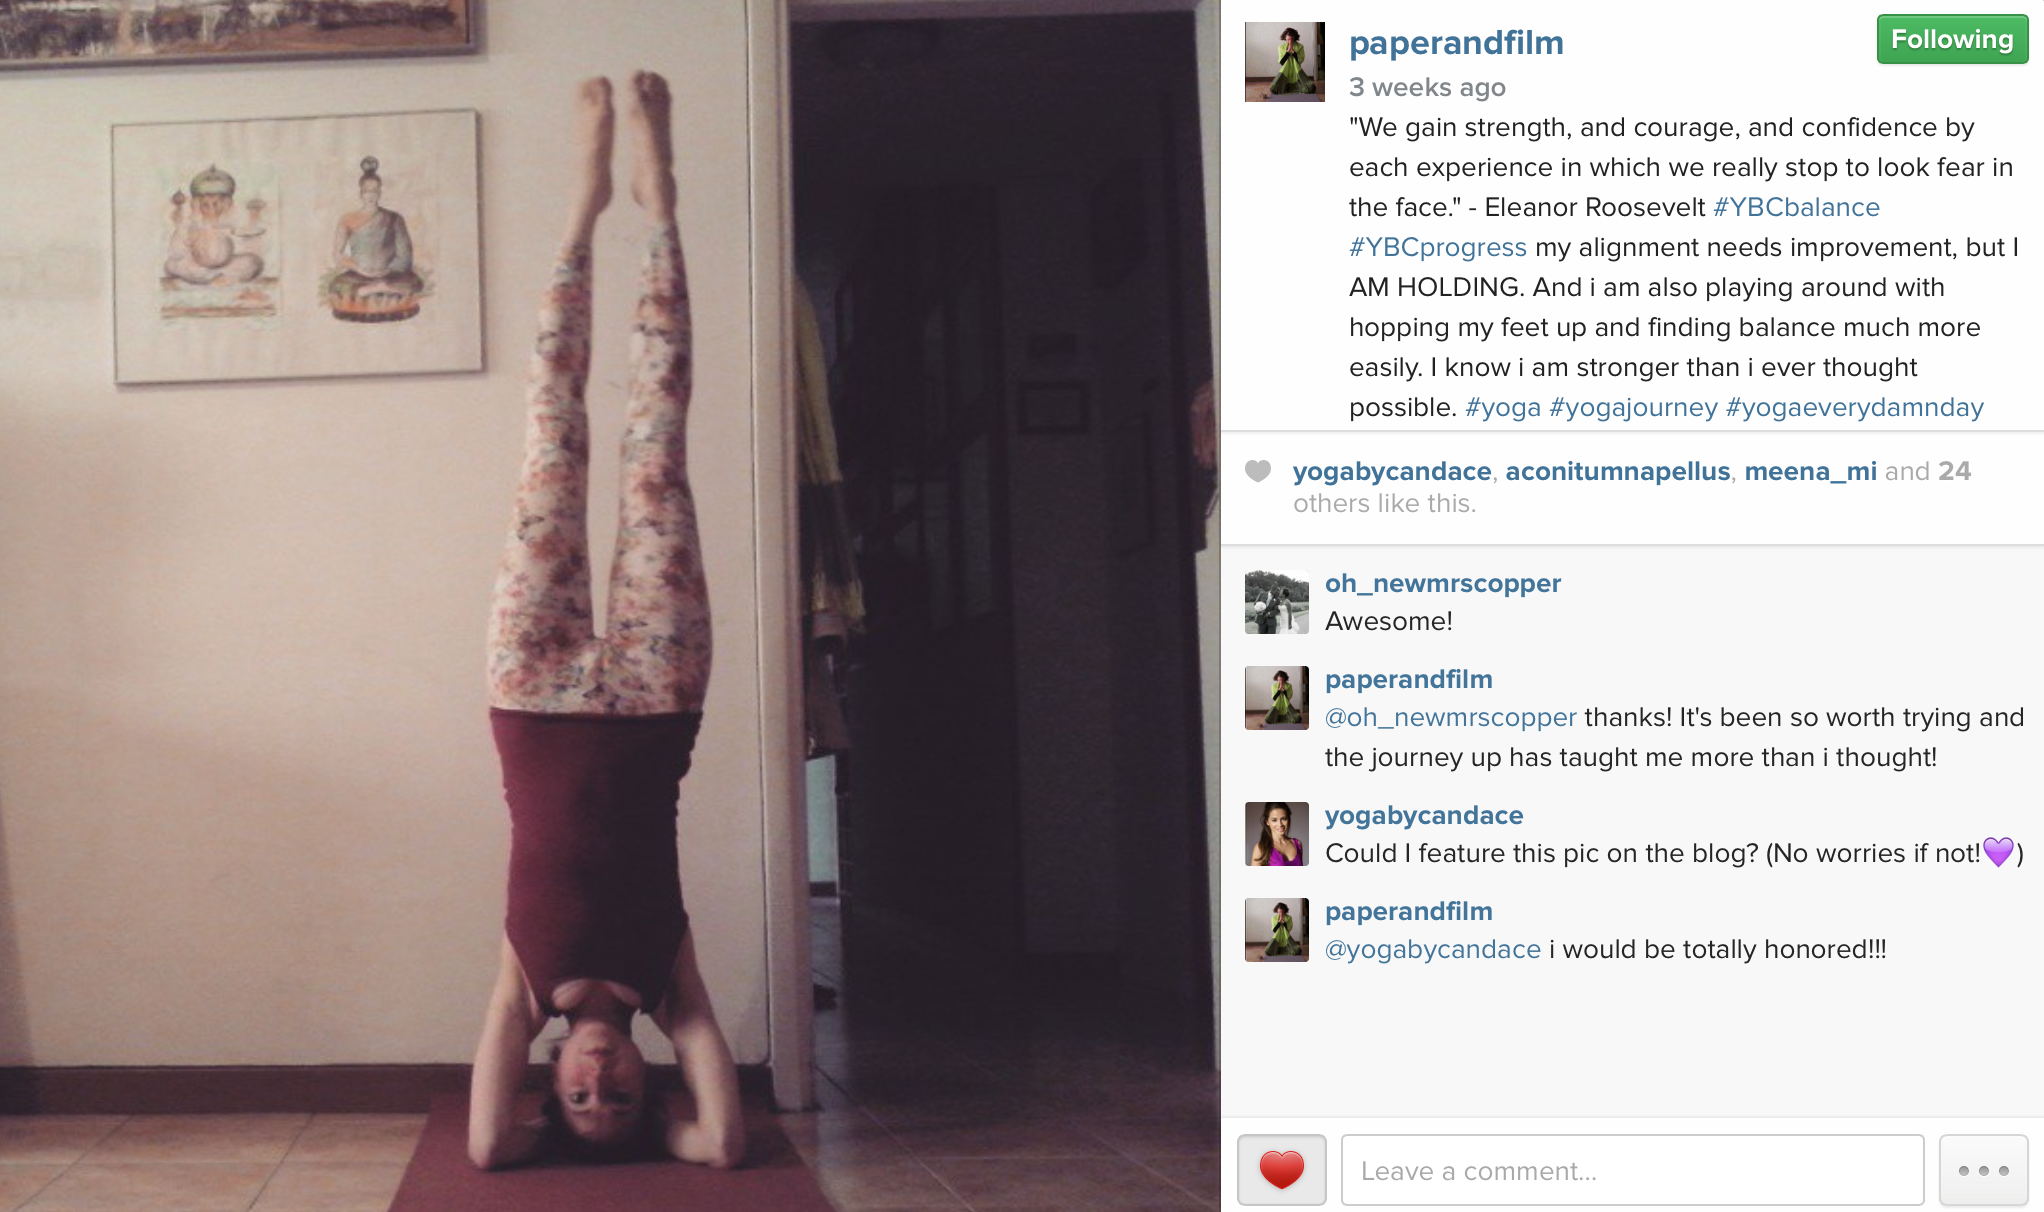
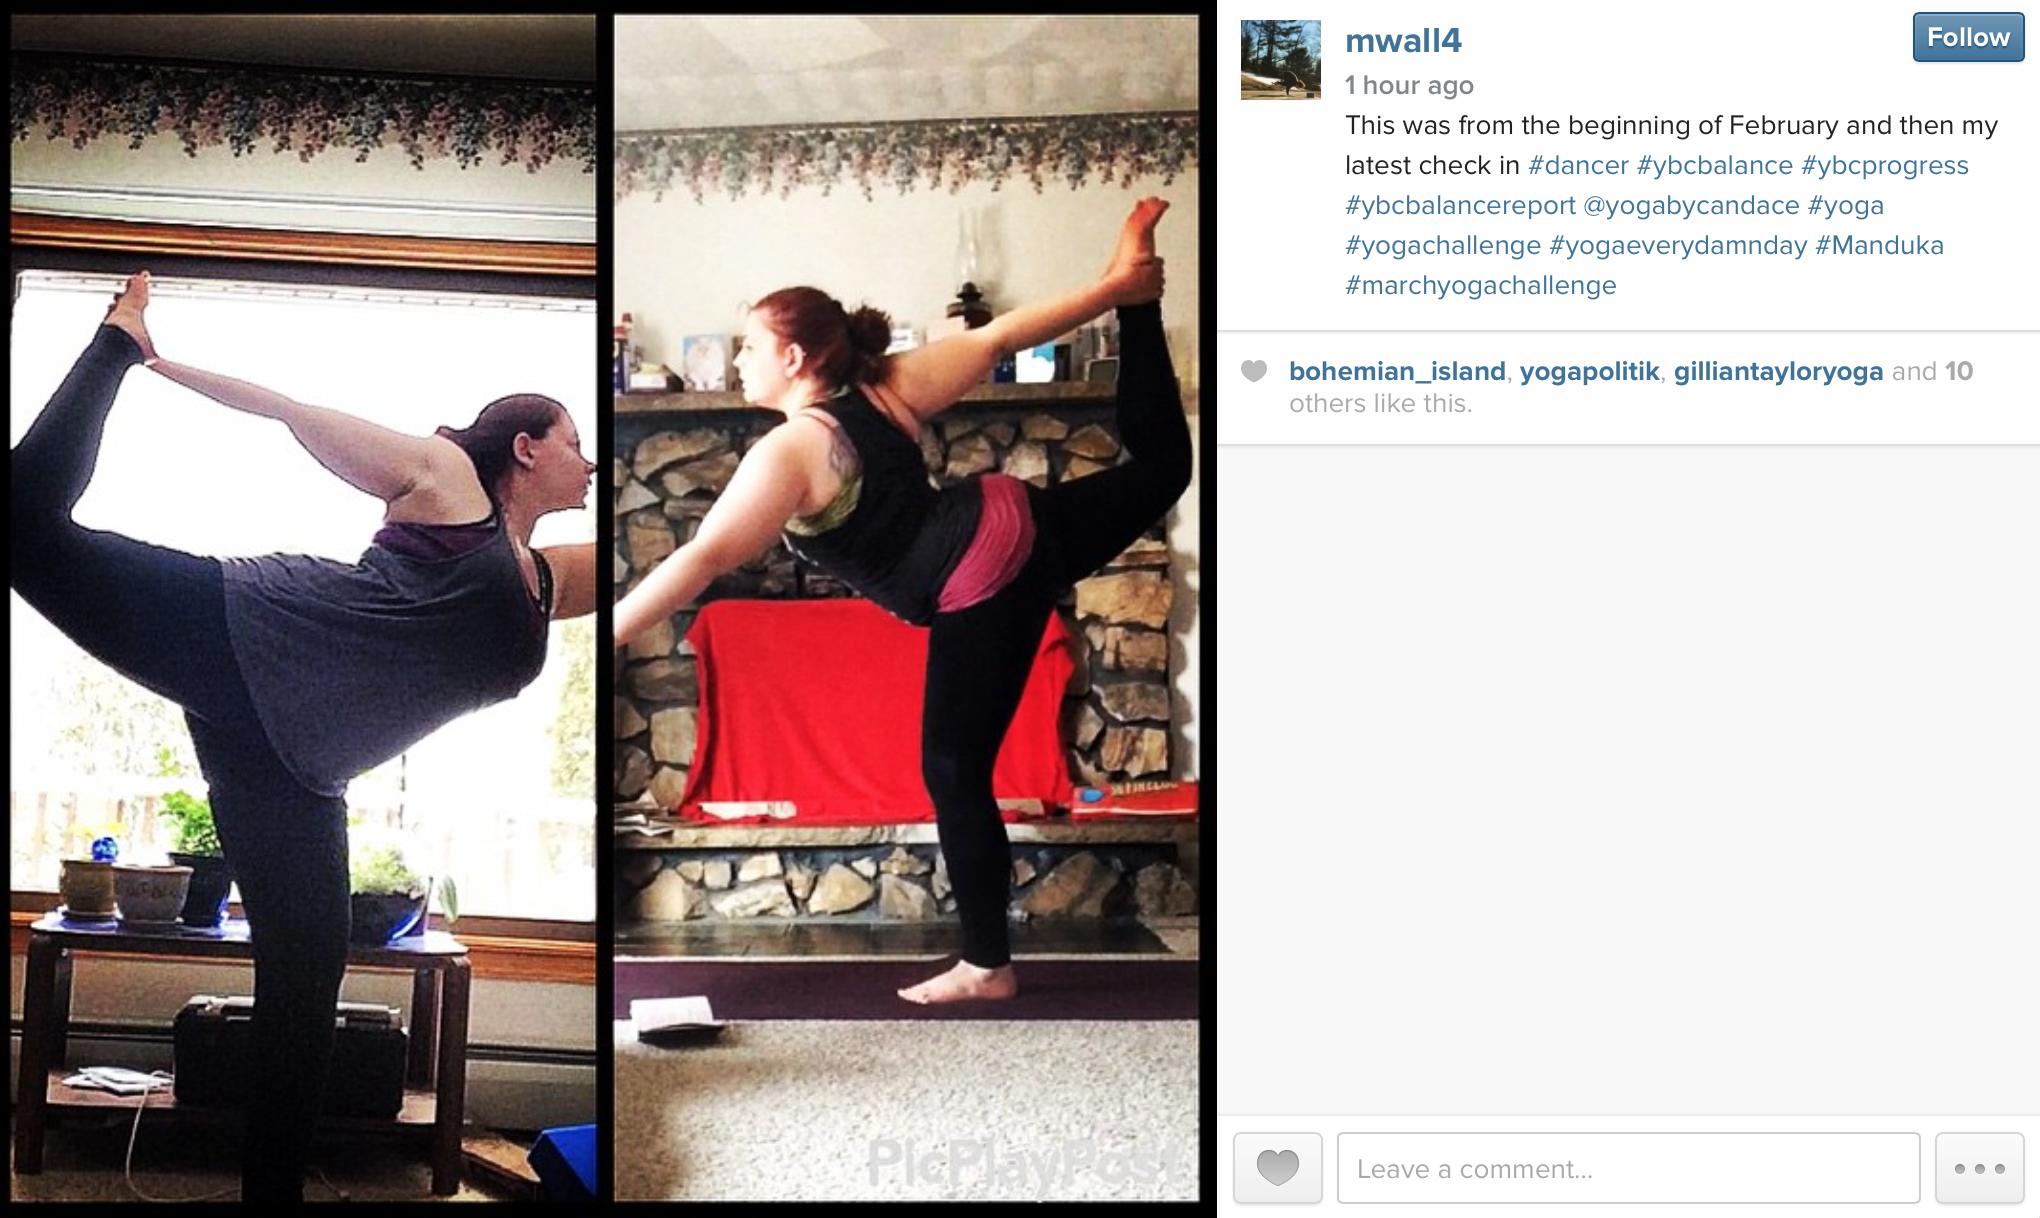
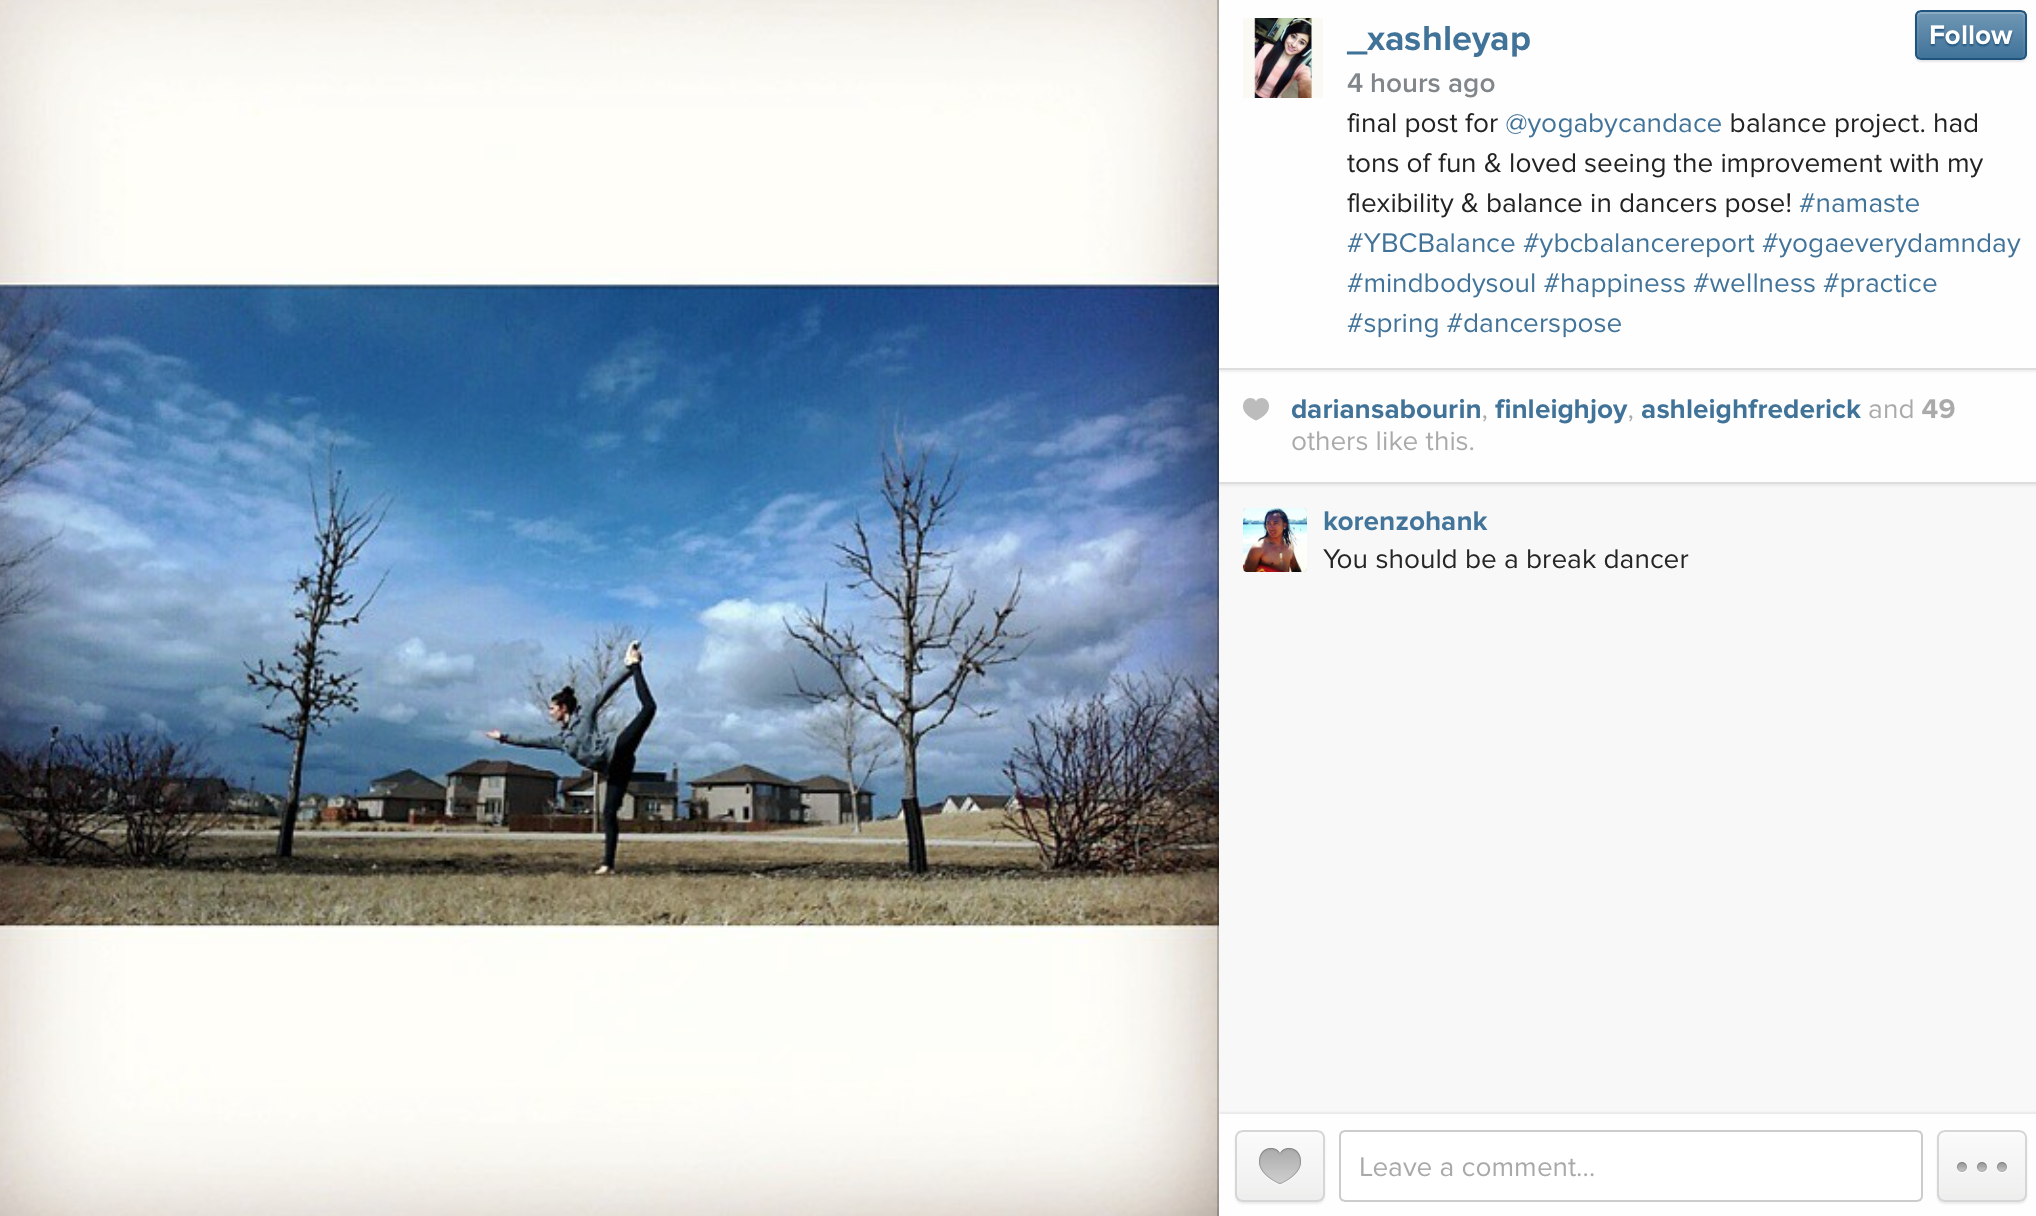
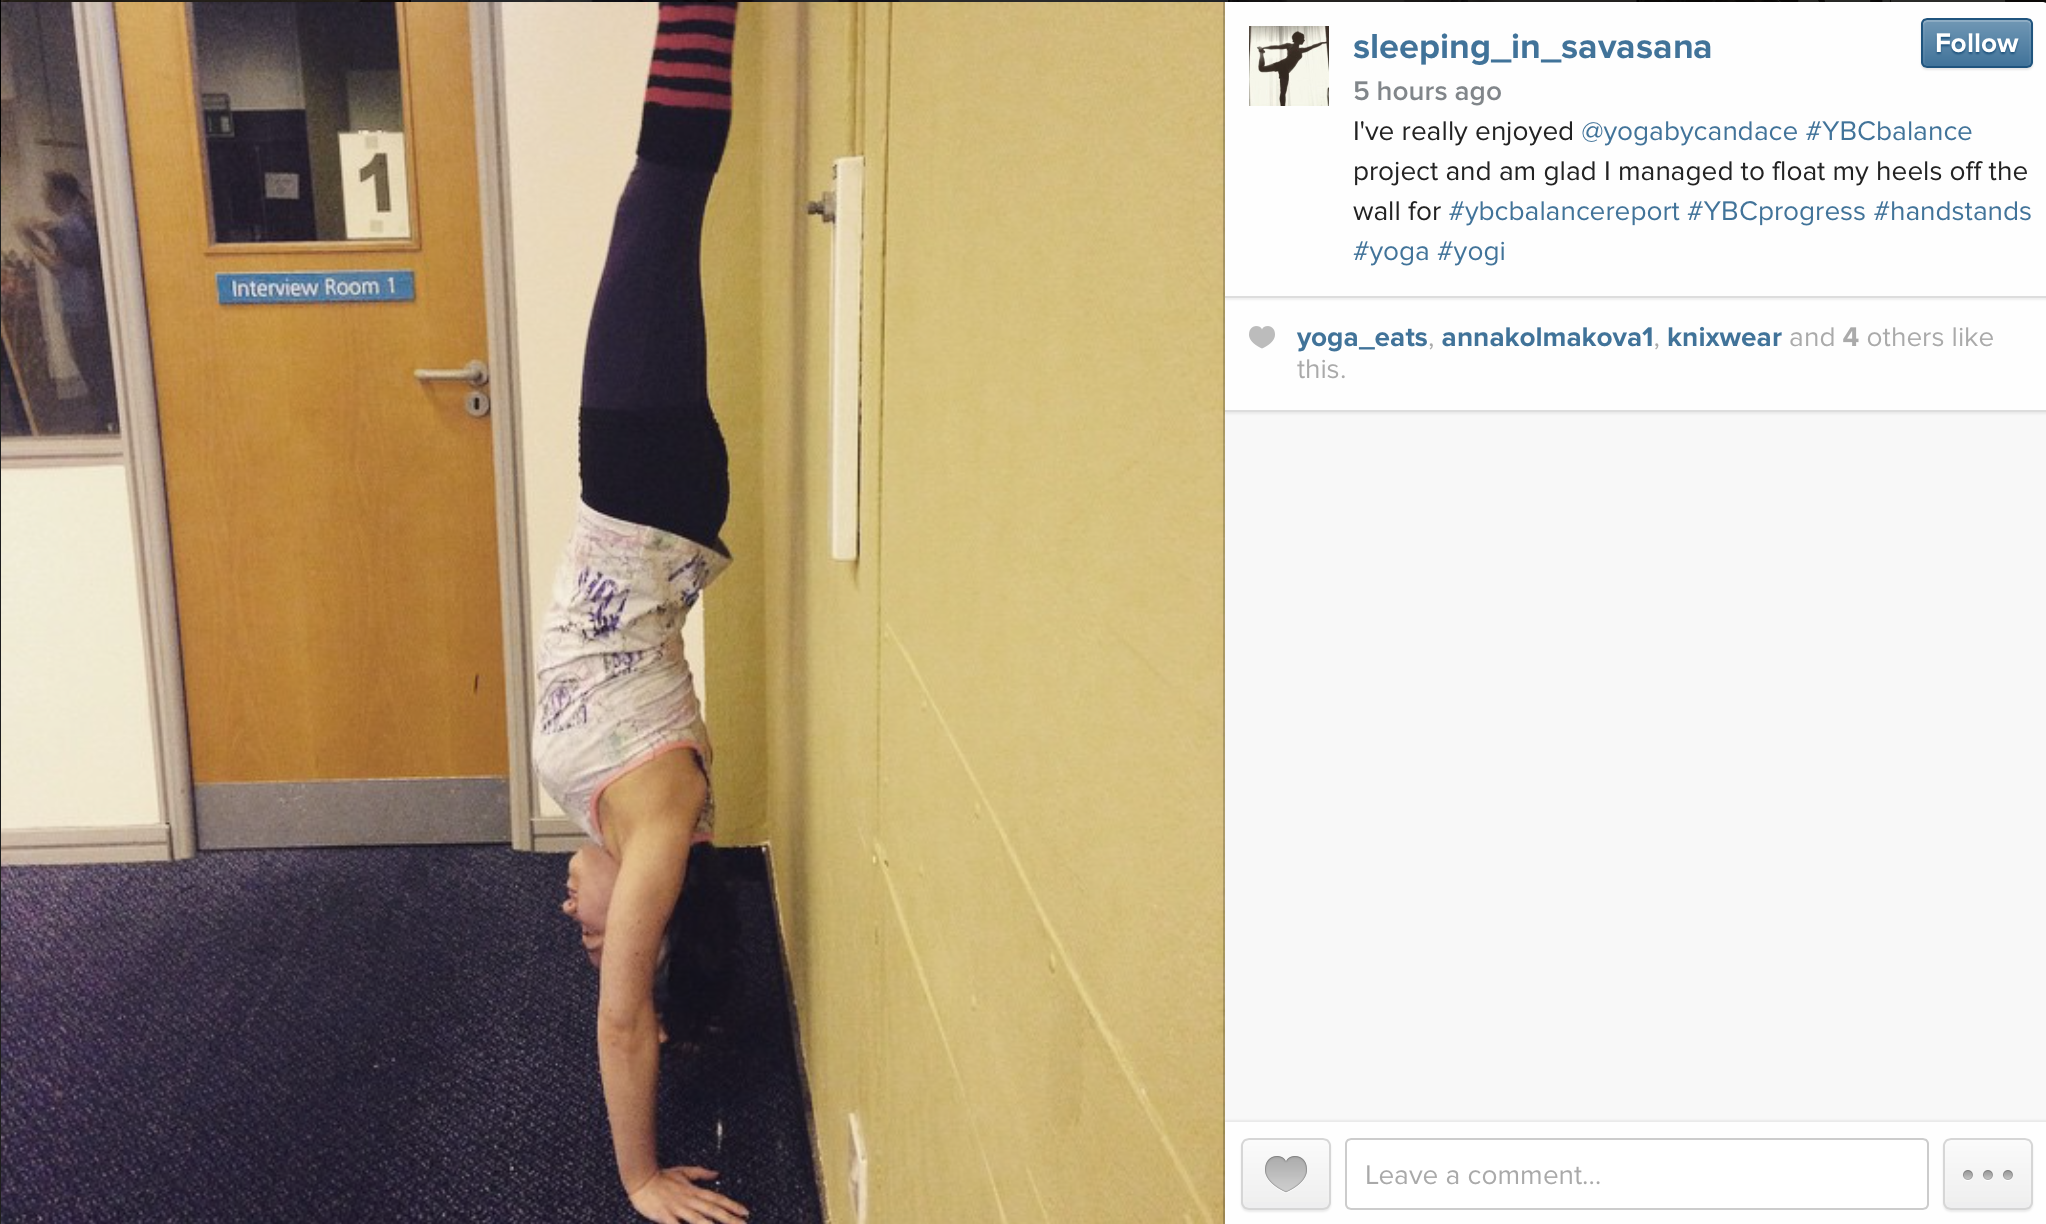
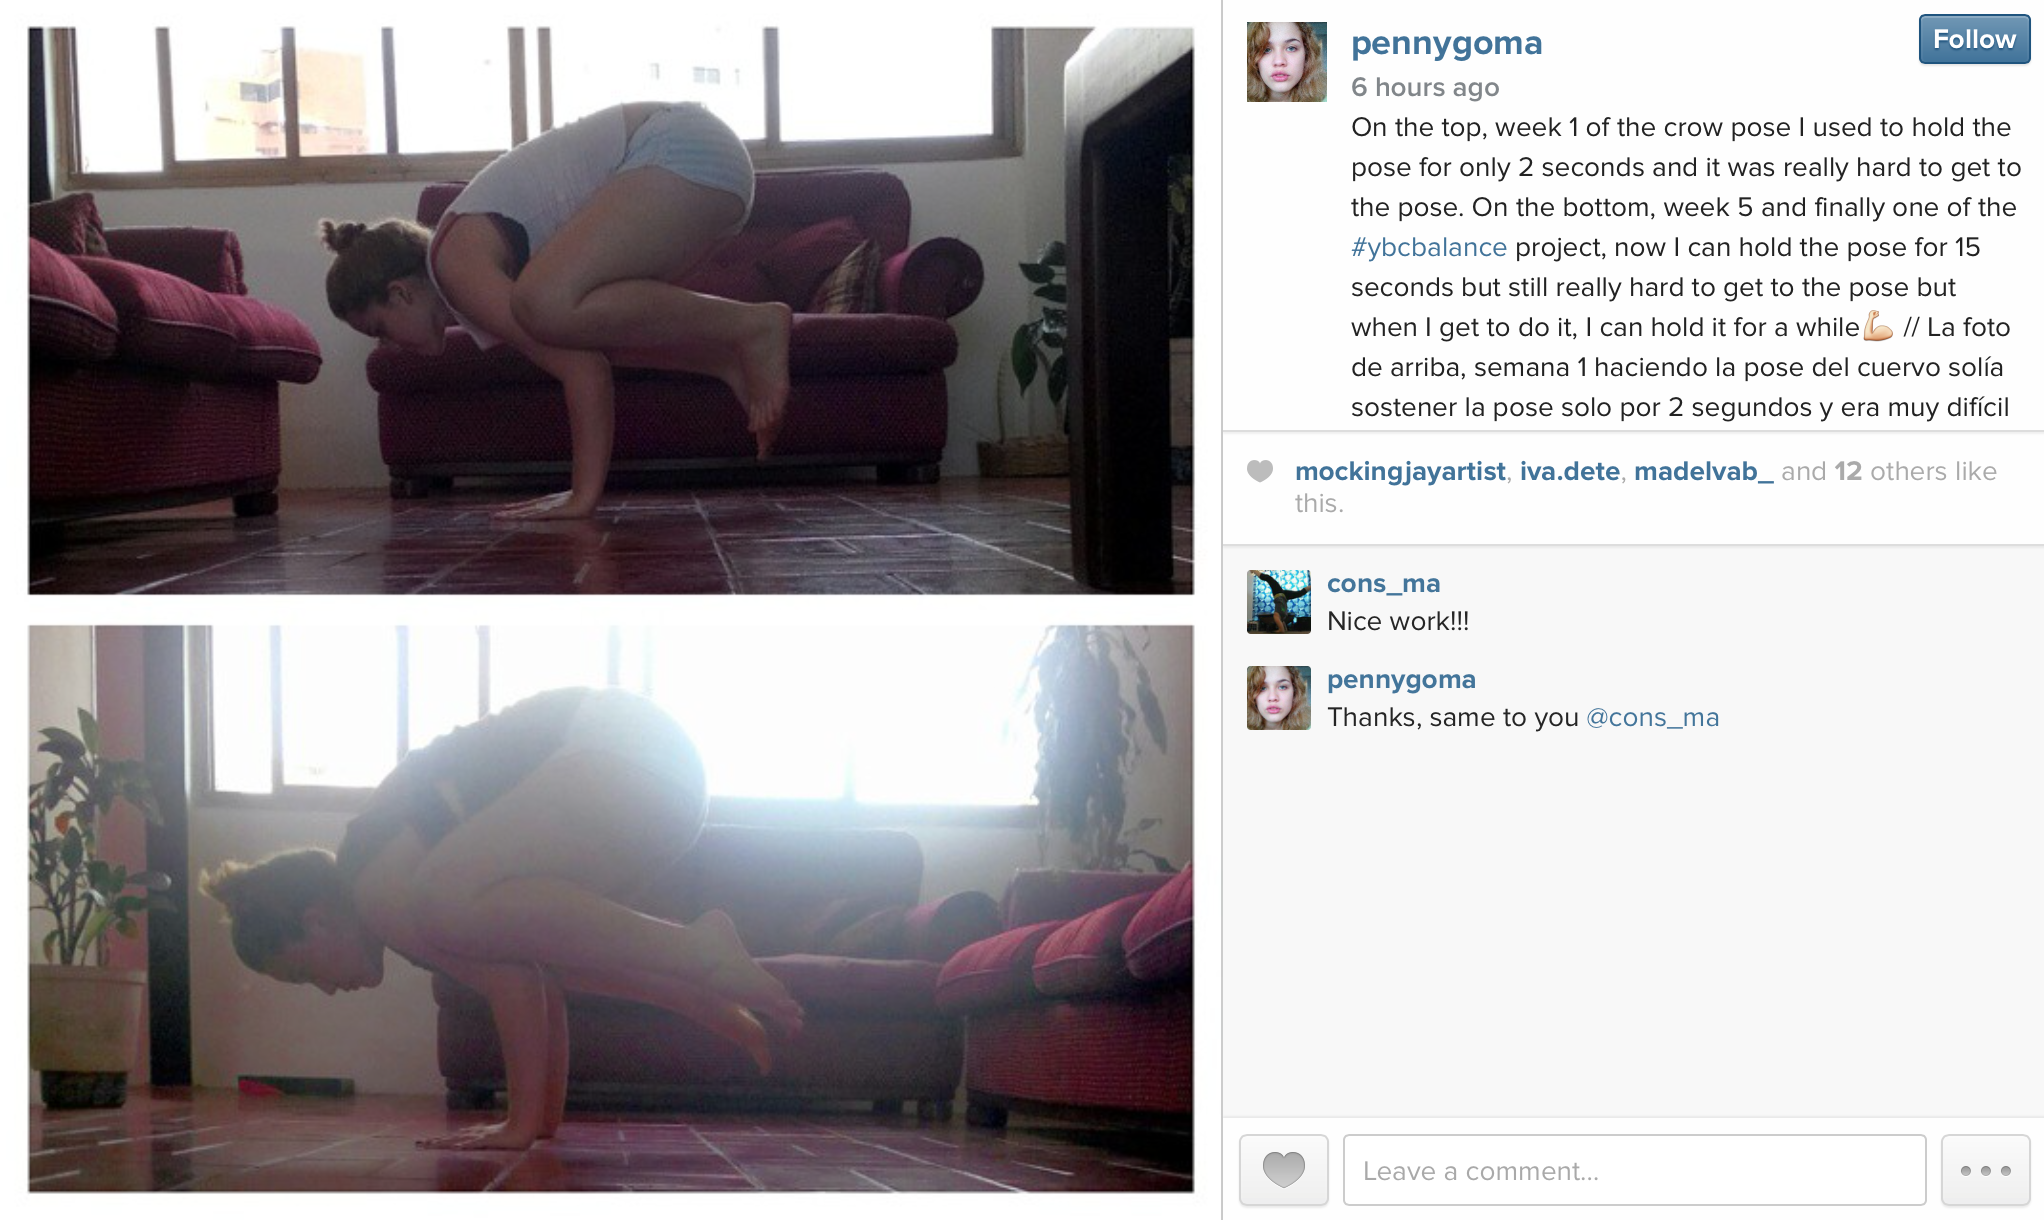
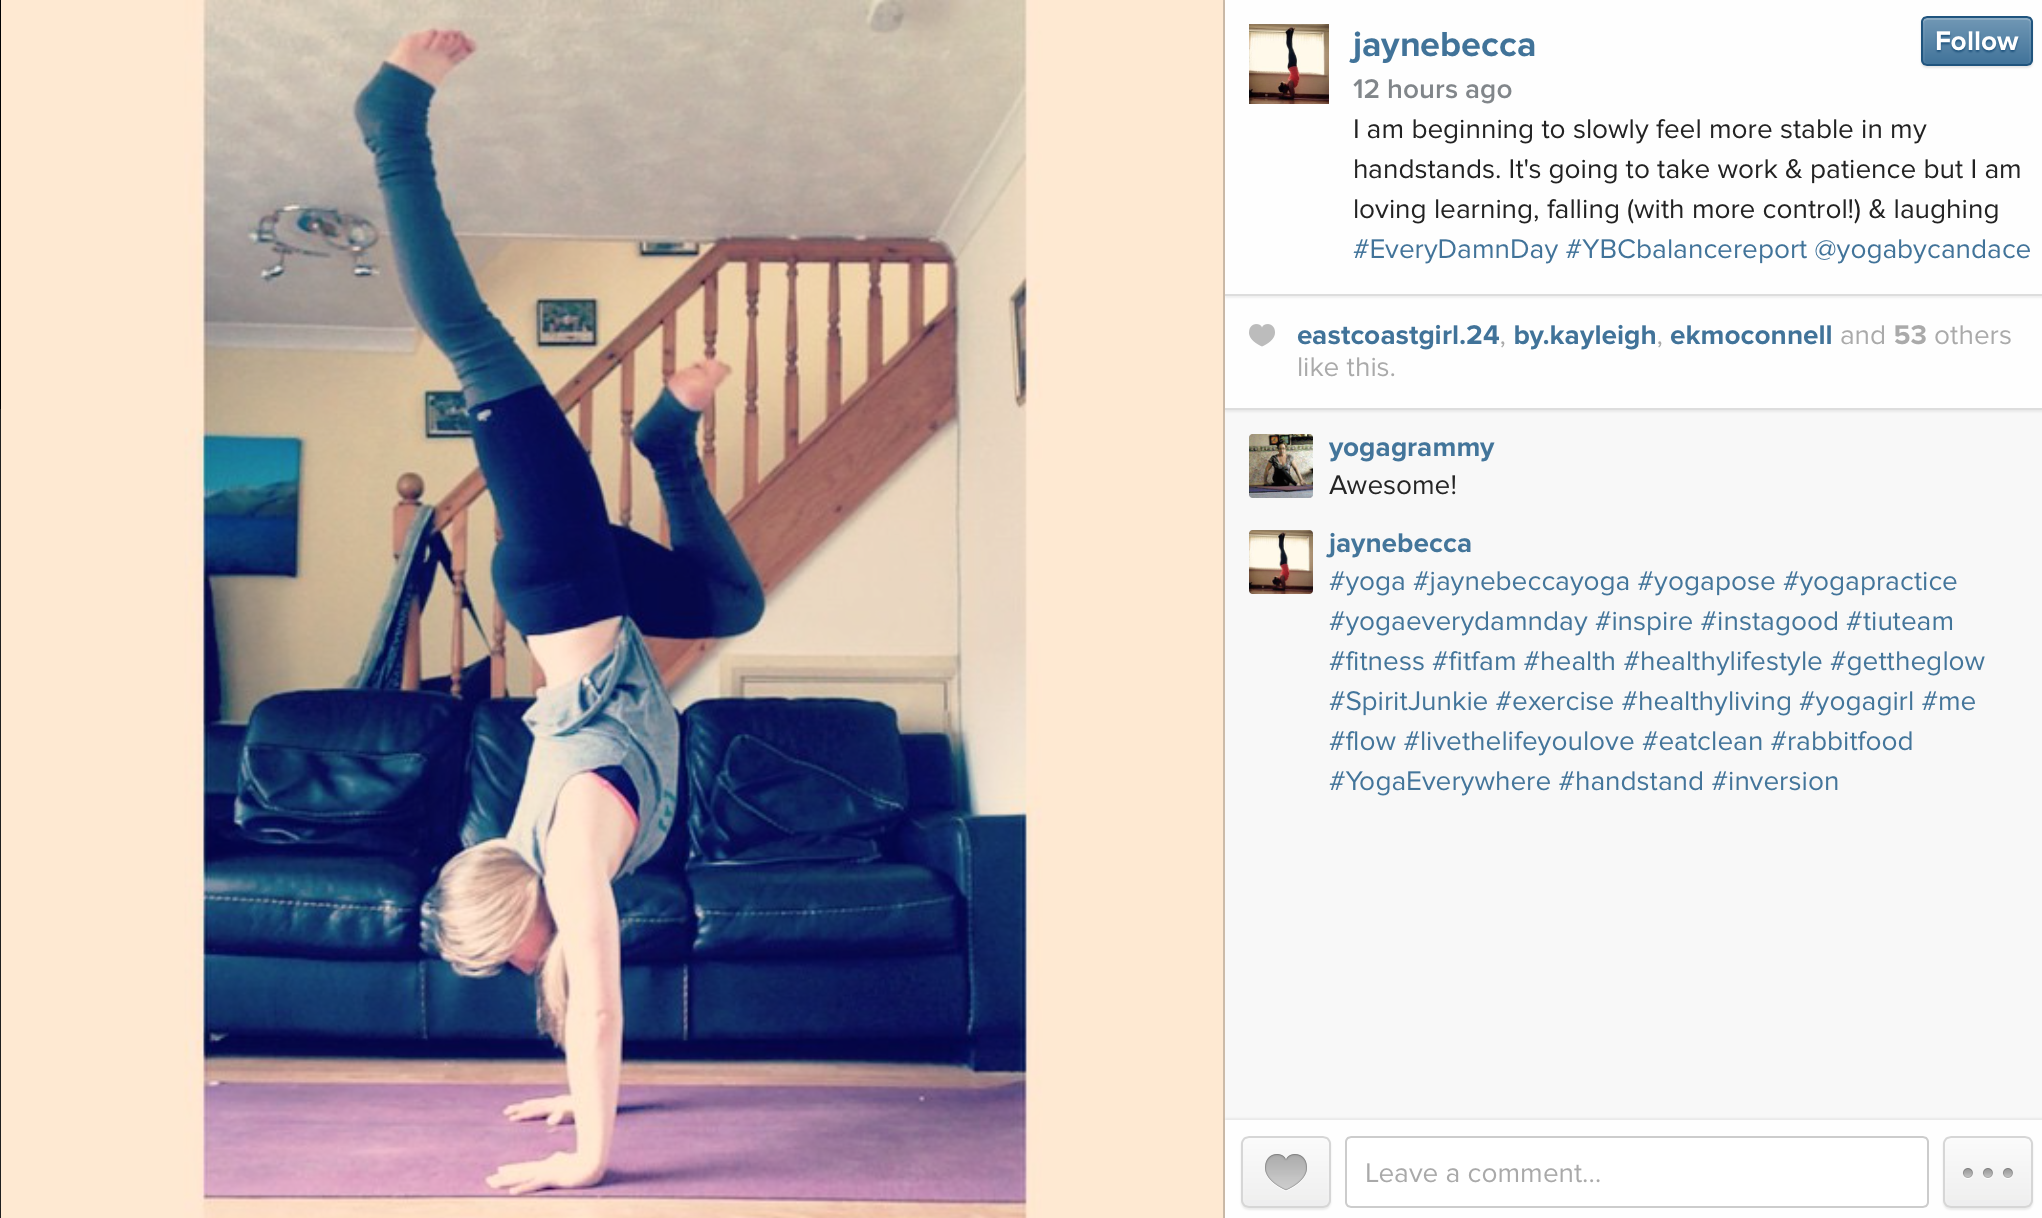
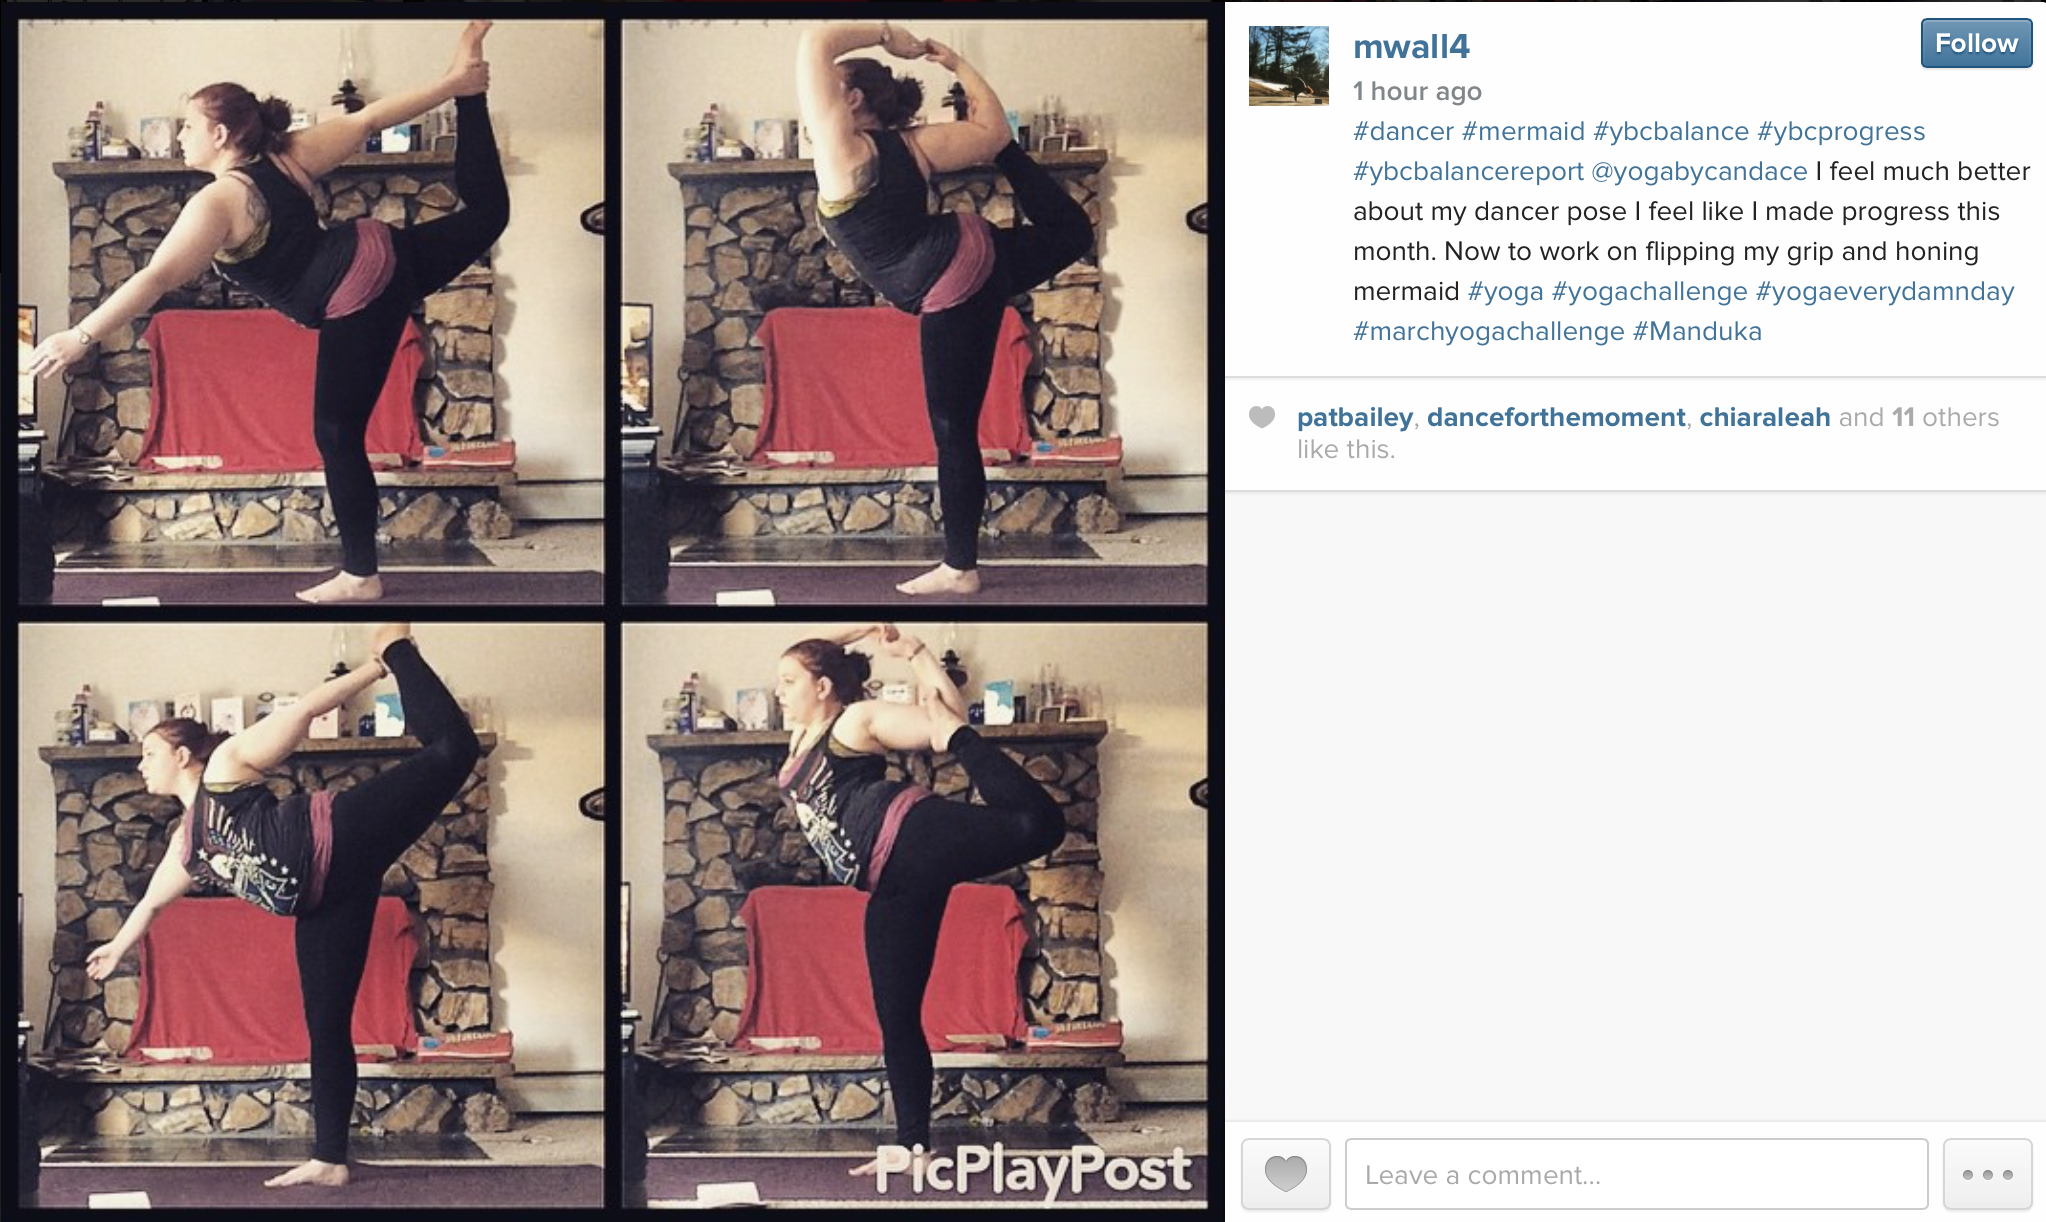
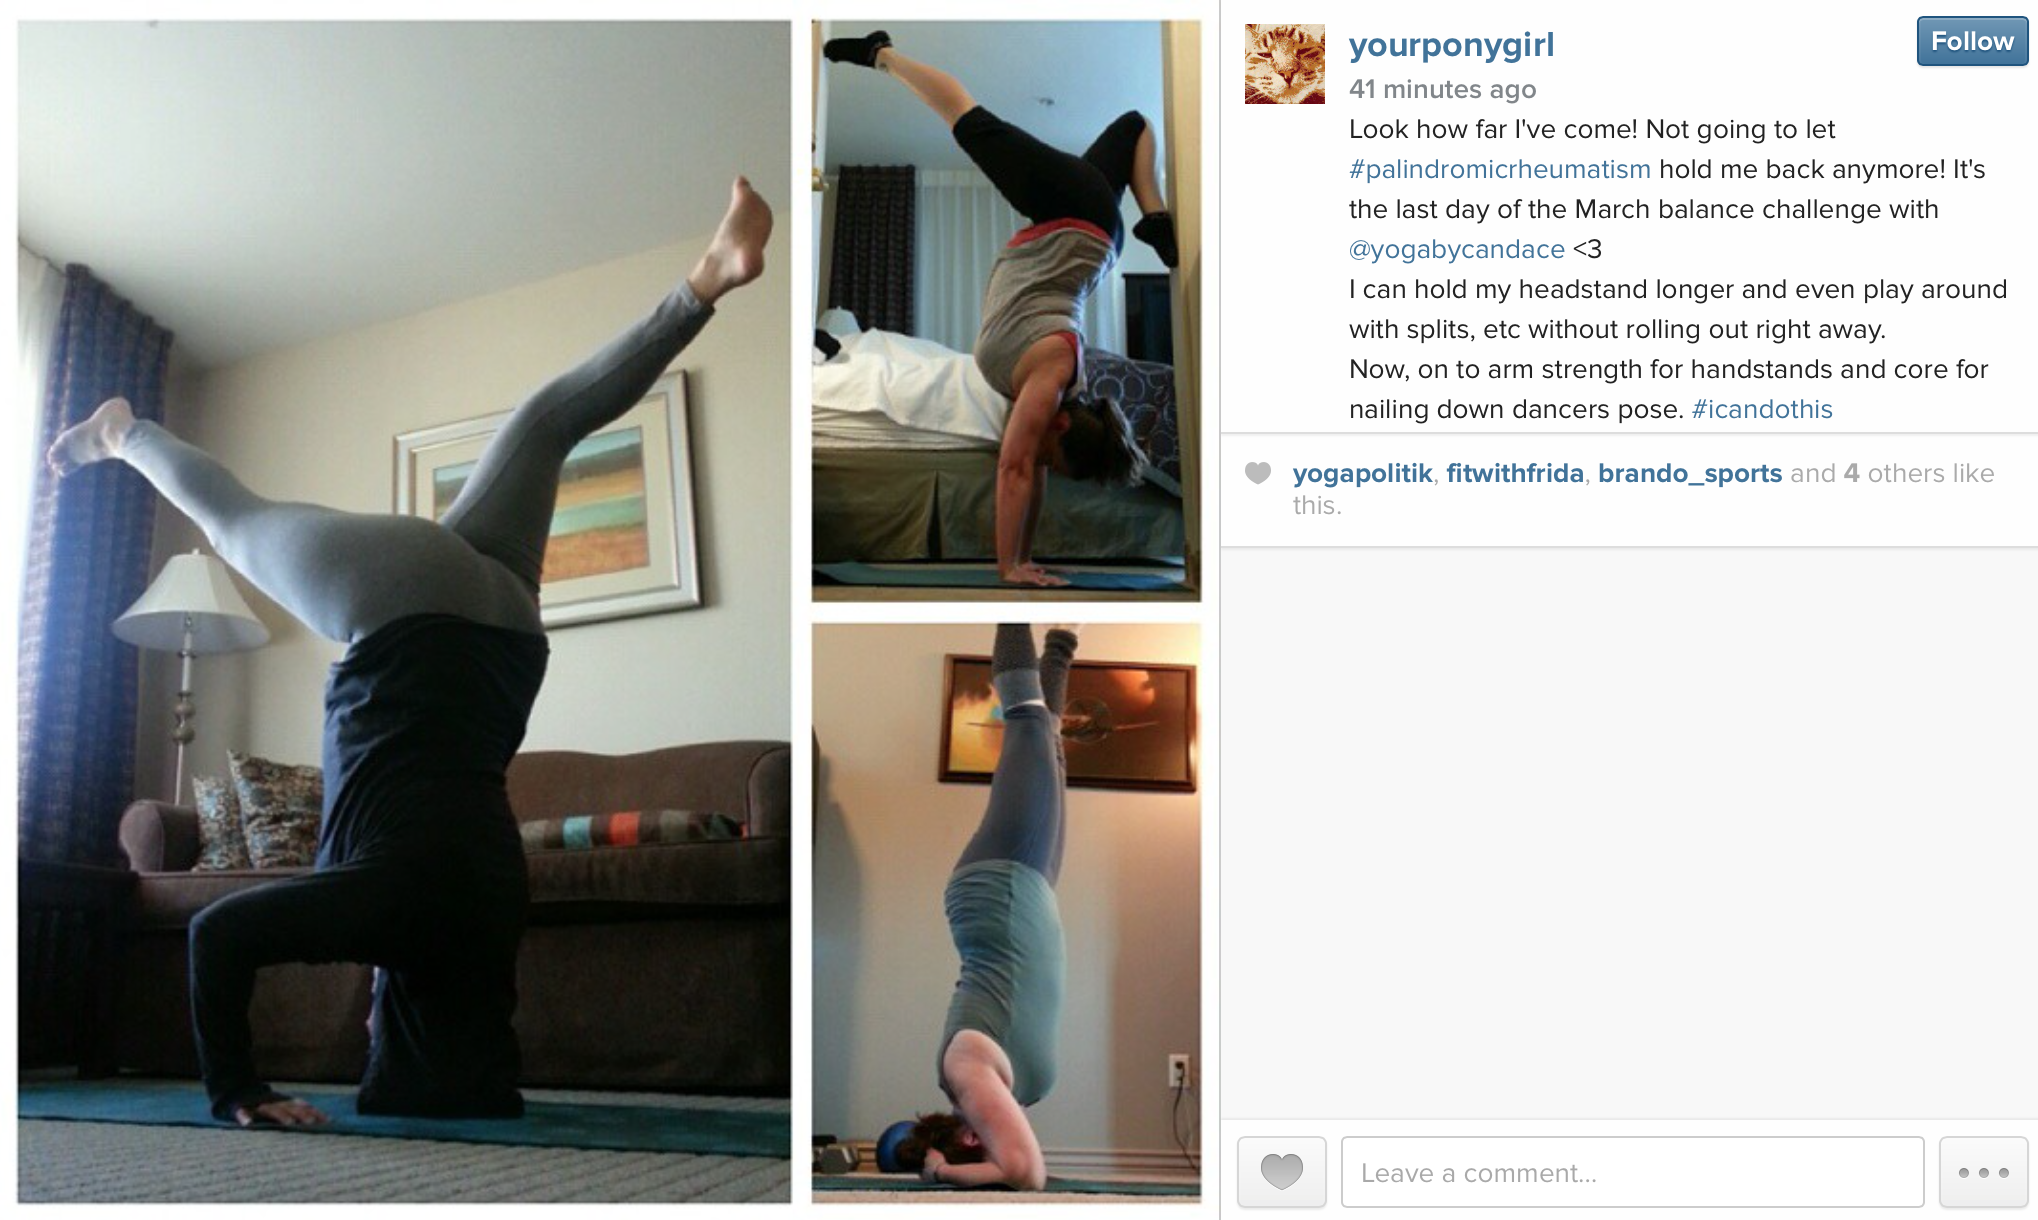
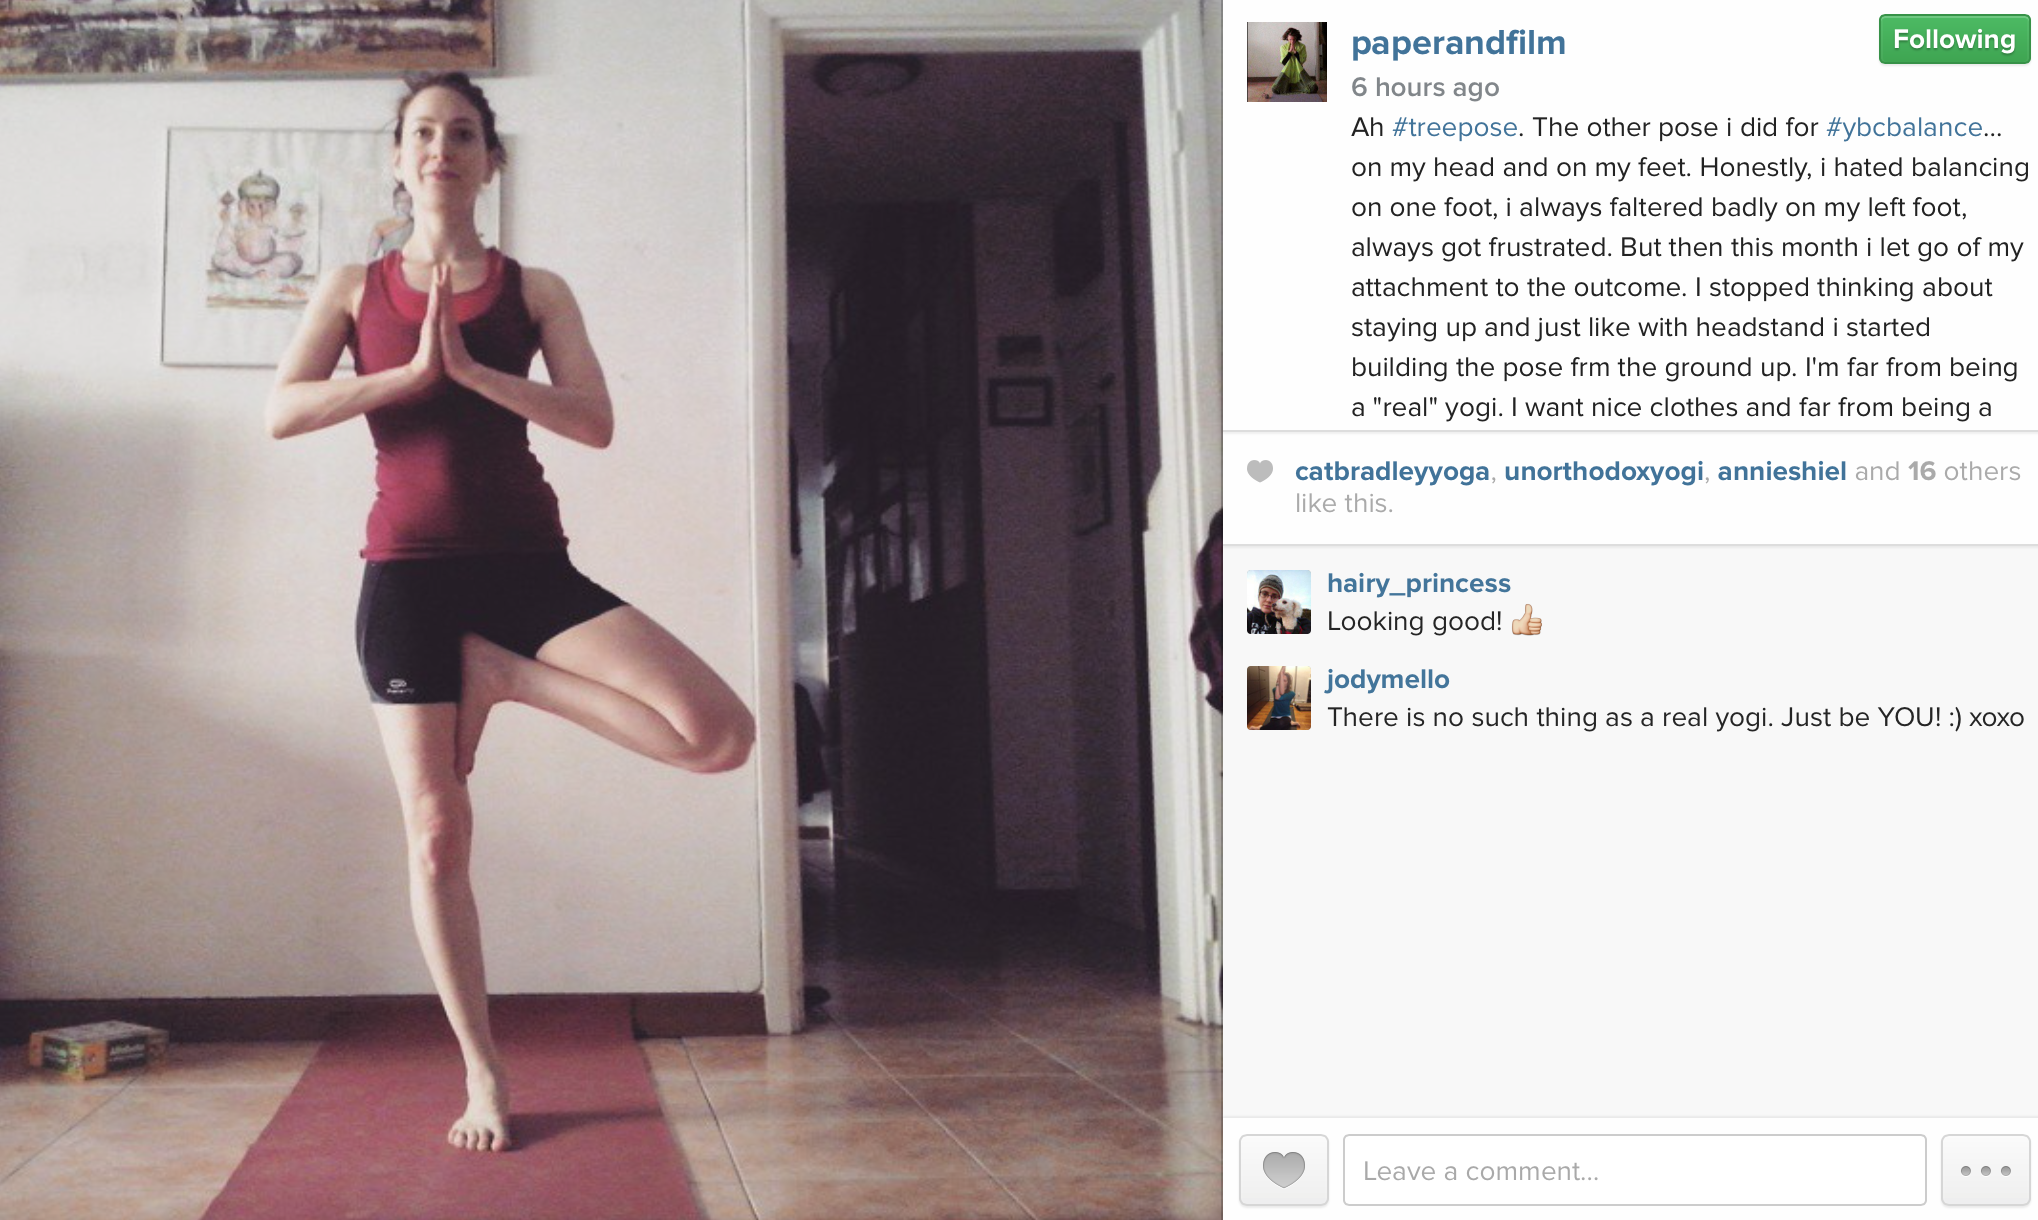
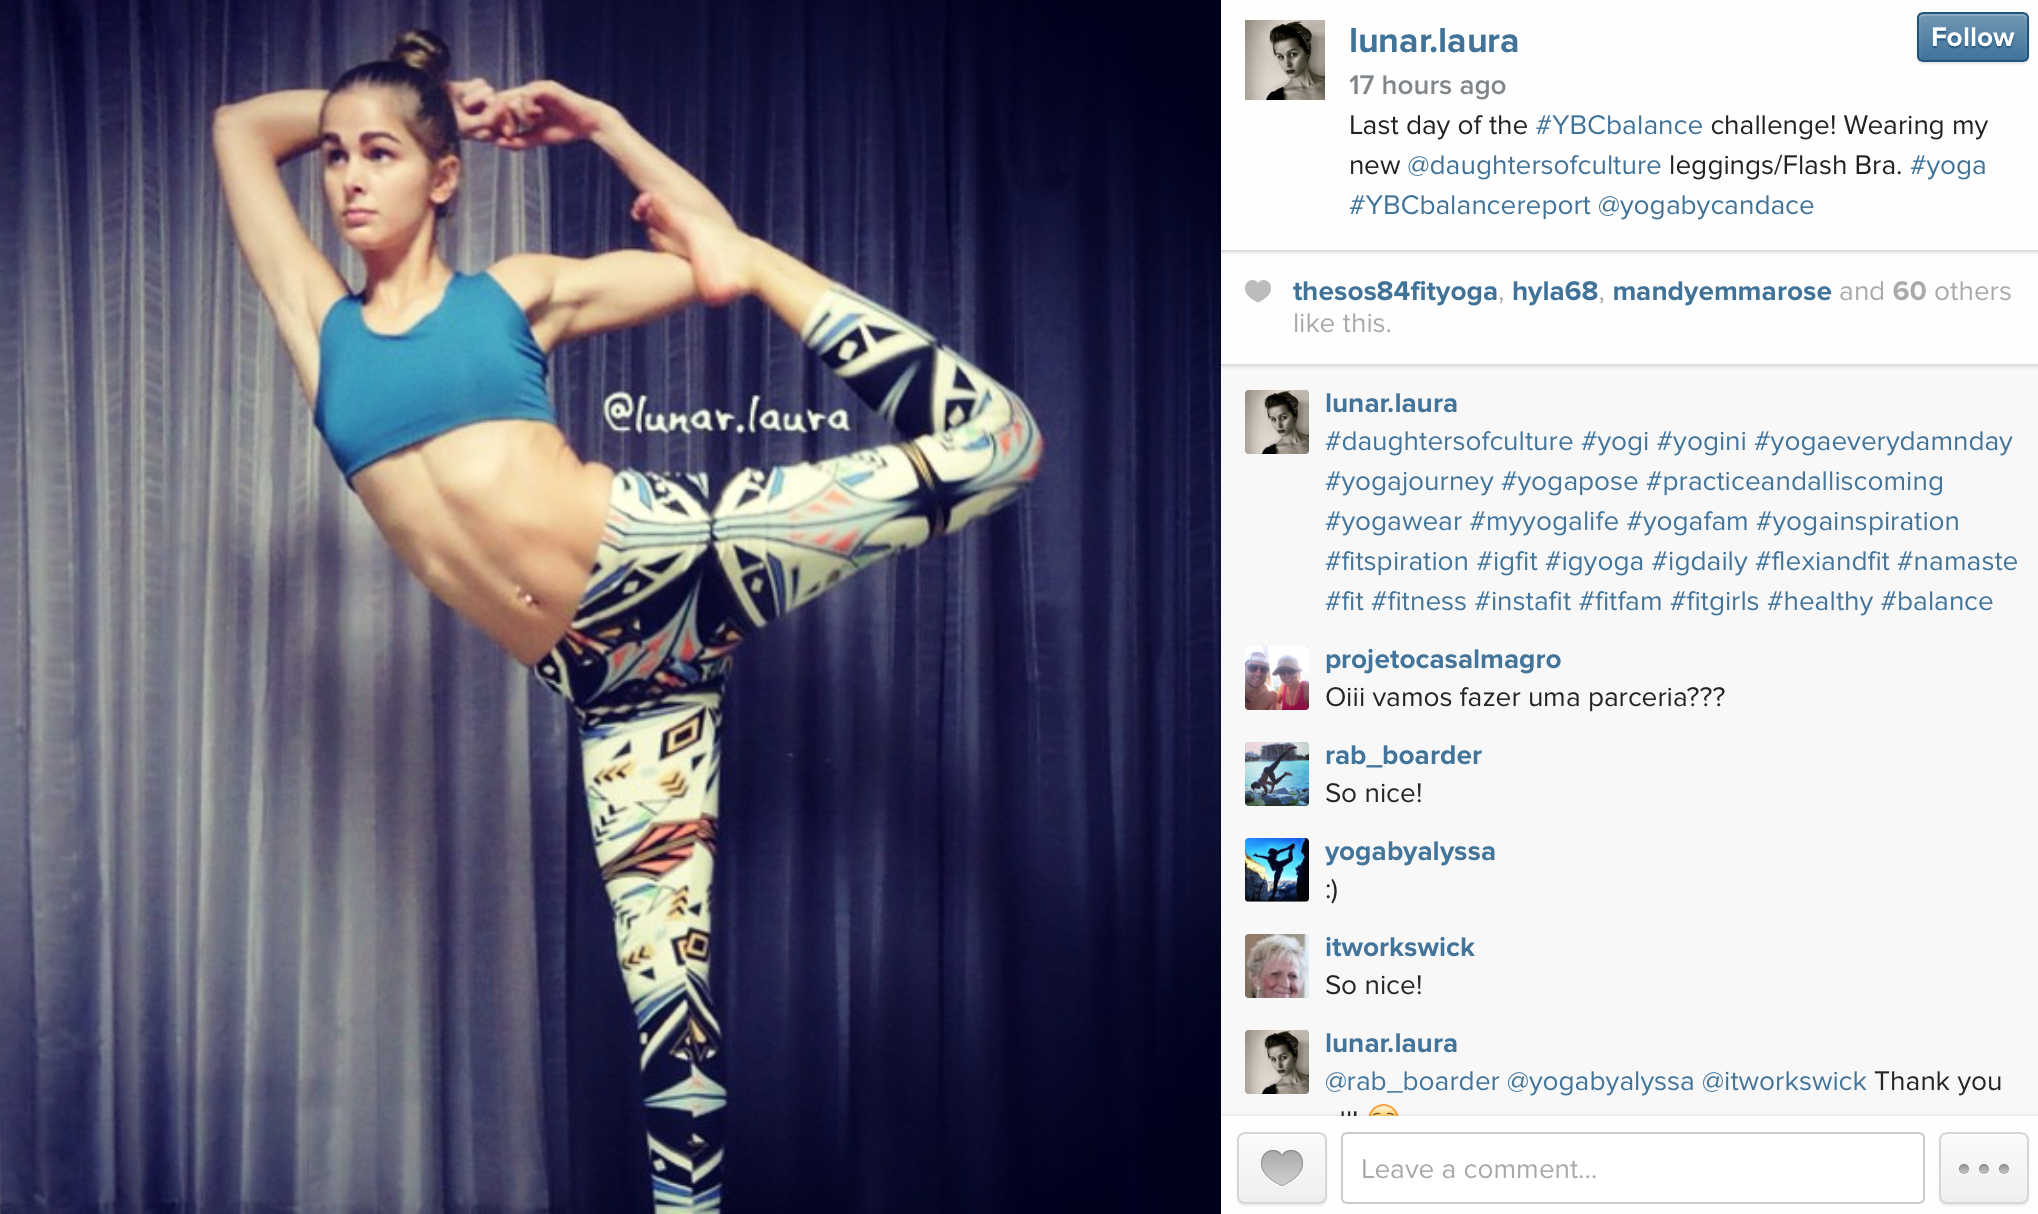
For April, we're going to focus on hip opening. I figure it's something everyone could use whether they're an advanced yogi, an avid runner, or just a regular old person with some low back issues (generally, that's caused from tight hips). Here's how it's going to go down.
1. Pick a hip pose.
You'll choose this one pose, take a pic at the beginning of the month, and keep documenting your progress throughout the month as you follow along to the suggested schedule (or your own schedule). The pictures can be shared on instagram, if you want, and will be a great way to come together as a community and share in our yoga journey. Not sure what pose to pick? Here are some options:
Beginners
- Standing split - This has the added challenge of both hip flexor and hamstring flexibility.
- Forward fold - This is a good one for the total beginner and requires a good amount of hamstring flexibility. This is especially good for people with tight low backs.
- Dancer's pose - Dancer's pose is a beautiful posture that requires both hip flexor and hamstring flexibility, as well as chest openness, so it's for the beginner who has a little bit of drive and wants to open up the chest as well.
Intermediate
- Wheel pose - This, like dancer's, also has the added challenge of opening up the chest, but with the hips the focus is on the hip flexors. Watch out for these common mistakes.
- Camel pose - This is major for the hip flexors and the chest.
- Bow pose - Also a hip flexor and chest pose. ;)
Advanced
- Grasshopper pose - This requires a lot of mobility in the torso and hips, so definitely for the ambitious yogi.
- Full dancer's pose - This pose requires a lot of opening in the hip flexors and hamstrings, as well as big time opening in the chest, shoulder and armpit area.
- Splits - For splits we'll need major hamstring and hip flexor opening.
2. Start the practice.
I'll be posting a weekly suggested schedule every Wednesday. You'll need to decide what to do from that suggested schedule based on your experience with yoga. If you're a total beginner, pick and choose things that work for you and skip over things that don't. There is no such thing as a perfect practice or a schedule that is going to work for every single person - so let go of the idea of "getting somewhere", and rather, enjoy the journey of figuring out what you need, what feels best, and learning to be cool with what you discover.
3. Check in with the YBC community.
You guys. We have the best people from all over the world hanging out on the Yoga Forum. They are super knowledgeable, really funny, and extremely supportive. If you have a question, want to share a breakthrough, or help others, this is the place to stop by and check in. You can also check in on instagram with #YBChips any time you like. Share photos of your practice and then search the hashtag to find other participants and give 'em a little love.
4. Documenting Progress
Toward the end of the month, feel free to use an app like PhotoGrid to create a little collage that compares your first pose pic to your end of the month pose pic (notice I didn't say last!). Then, if you'd like to be featured here on YBC at the end of the month, just use hashtag #YBChipsreport on instagram so I can find you. No need to watermark your pics, I'll always screenshot your name so people where know where to find you.
Ok, that's it! Round up some yoga buddies and get excited because tomorrow is DAY 1. Boom!
Tell me, are you in?! What pose are you picking?
Weekly Schedules
WEEK 1 SCHEDULE FOR APRIL HIPS YOGA PROGRAM
WEEK 2 SCHEDULE FOR APRIL HIPS YOGA PROGRAM
WEEK 3 SCHEDULE FOR APRIL HIPS YOGA PROGRAM
WEEK 4 SCHEDULE FOR APRIL HIPS YOGA PROGRAM
WEEK 5 SCHEDULE FOR APRIL HIPS YOGA PROGRAM
Shop the look below


